10 Beginner-Friendly Beer Recipes
Friday, August 28th, 2020By Troy Stouffer
When I tasted my first homebrewed beer, I was proud of my creation and it sparked a desire within me to brew more and to create my own recipe. I dove headfirst into websites, forums, and podcasts to learn as much as I possibly could so I could design my own unique beer. What I found was that there is so much information out there that I easily got overwhelmed and didn’t know where to start the process. My hope and my goal are to break down some of the confusion so we can all heed Charlie Papazian’s advice of, “Relax. Don’t worry. And have a homebrew.”
What Goes Into a Beer Recipe
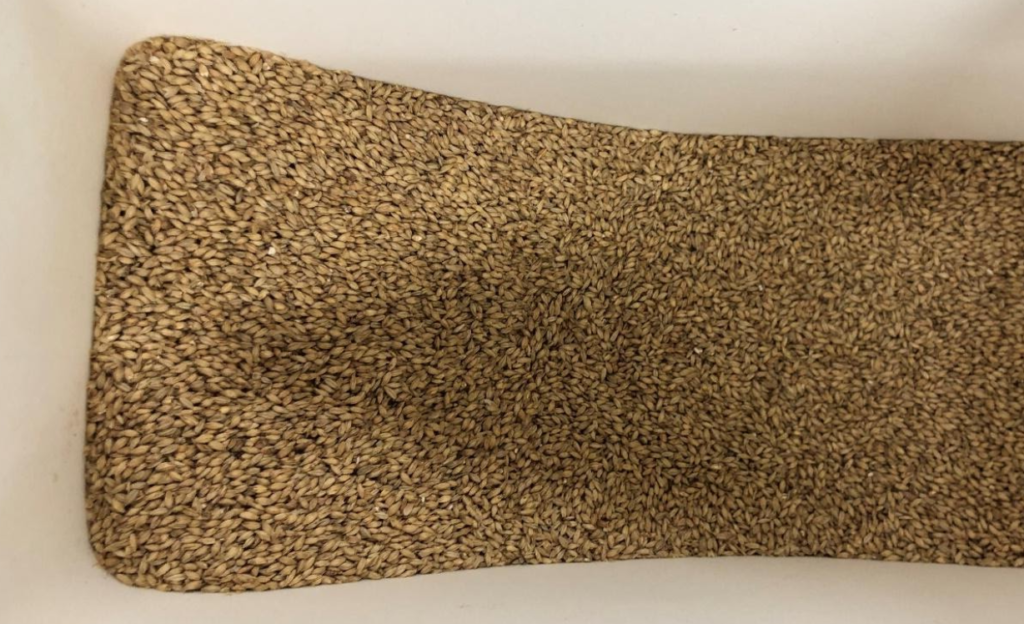
Beer is essentially just water, barley, hops, and yeast. Basically, malted barley is crushed and then soaked or mashed in 145F-158F(63C-70C) water for about an hour to extract the sugars out of the grain. The sugar-rich liquid, or wort, is then drained off to boil for an hour. Hops are added during different parts of the boil to add bitterness, flavor, and aroma. After the boil, the wort is chilled down and transferred over to a fermenter where we add our yeast to begin the magical process of fermentation.
Just as many home brewers started, my journey started with a malt extract kit on the kitchen stove. Extract brewing takes out much of the work of the brewing process by removing the mashing step. Malt extract is exactly what it is called. Maltsters take the sweet wort after the mash and condense it down to a syrup, in some case a powder, so we can just add it to the boiling water and pick up the process after that point.
Following These Beginner Beer Recipes
Many beginner brewing kits use malt extract due to the ease of brewing and lack of extra equipment needed. Essentially, you need a pot capable of holding at least 4 -5 gallons of liquid and a food-grade bucket in which to ferment. There are many techniques and processes to brew beer, but I have included these extract recipes using as little extra equipment as absolutely necessary. To keep it simple, just bring 3 gallons of water to boil in your pot, add your malt extract, add your hops at the designated times and boil for 60 minutes. After 60 minutes, cool down your wort to yeast pitching temperature, an ice bath in the sink or tub works great. Now transfer your cooled wort to your fermenter and add some pre-boiled water to the fermenter to bring the volume up to 5.5 gallons.
For recipes with Steeping Grains, place the crushed grains in a muslin bag and raise the temperature of the water to between 150-160 degrees F. Add the grains and kill the heat. Let the grains steep for 20 minutes. Remove the grains then continue heating the wort to a boil. The hop additions listed in relation to how long they should be in your boiling wort (ie. 60 minute hops should be boiled for 60 minutes and 5 minute hops won’t be added until it’s been boiling for 55 of the 60 minutes).
Dry Malt Versus Liquid Malt Extracts
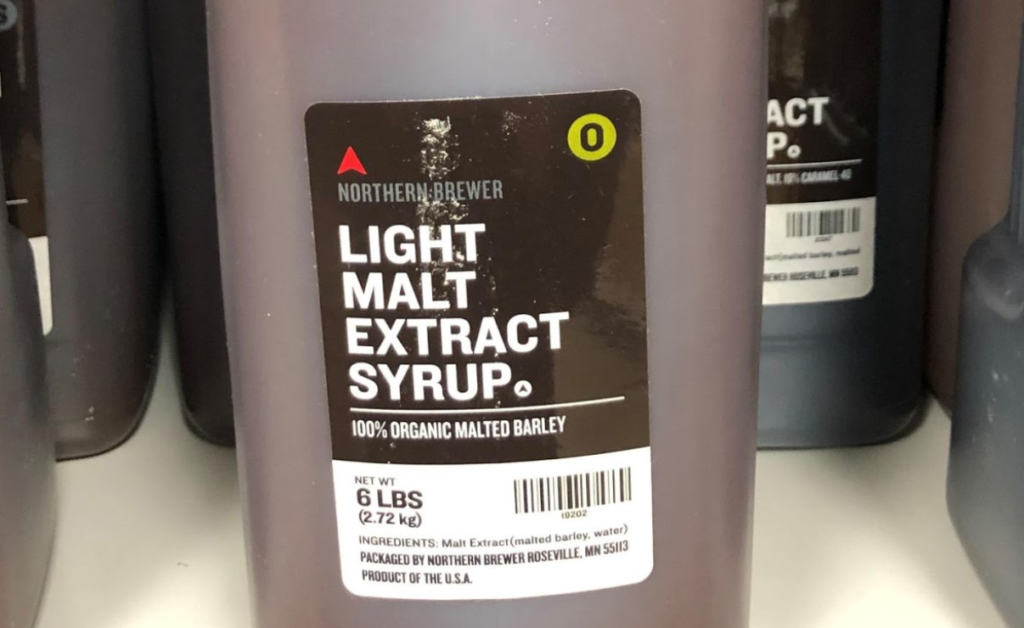
The extract recipes listed below use liquid malt extract. If you want yo use dry instead of liquid, the ratios aren’t pound for pound. Want to use dry malt extract instead? Use the calculator here on Brewer’s Friend
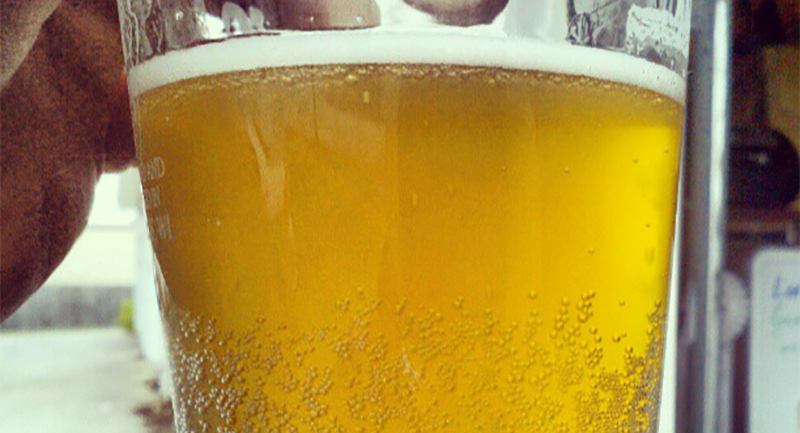
Easy Extract Blonde Ale
Fermentables
6.6 lbs Pilsen Liquid Malt Extract
Hops
1 oz Amarillo – 30 minute boil addition
Other Additions
1 Whirlfloc Tablet – 15 minute boil addition
Yeast
Safale S-04
Easy Extract Amber Ale
Fermentables
6.6 lbs – Amber Liquid Malt Extract
1 lb – Caramel Malt 40L (Steeping Grain)
Hops
1 oz – Williamette – 60-minute boil addition
1 oz – Williamette – whirlpool addition
Other Additions
1 Whirlfloc Tablet – 15 minute boil addition
Yeast
White Labs WLP060
Easy Extract IPA
Fermentables
6.6 lbs – Light Liquid Malt Extract
1 lb – Light Dry Malt Extract
1 lb – Caramel Malt 20L (Steeping Grain)
Hops
1oz – Citra – 60 minute boil addition
1oz – Amarillo – 10 minute boil addition
1oz – Cascade – whirlpool addition
Other Additions
1 Whirlfloc Tablet – 15 minute boil addition
Yeast
Safale US-05
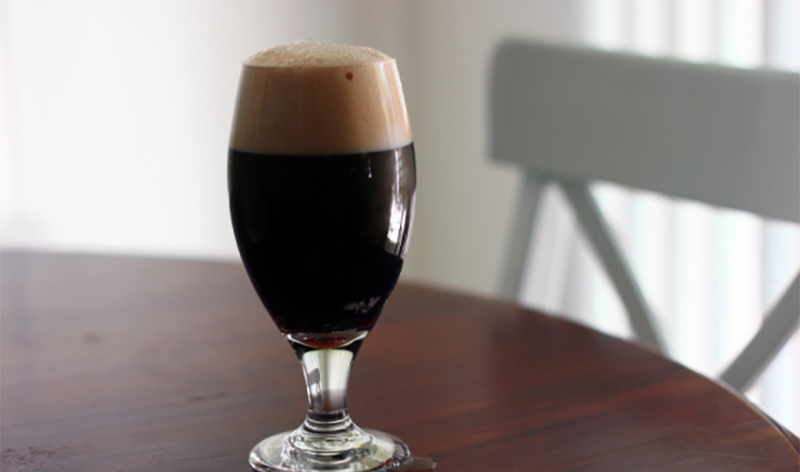
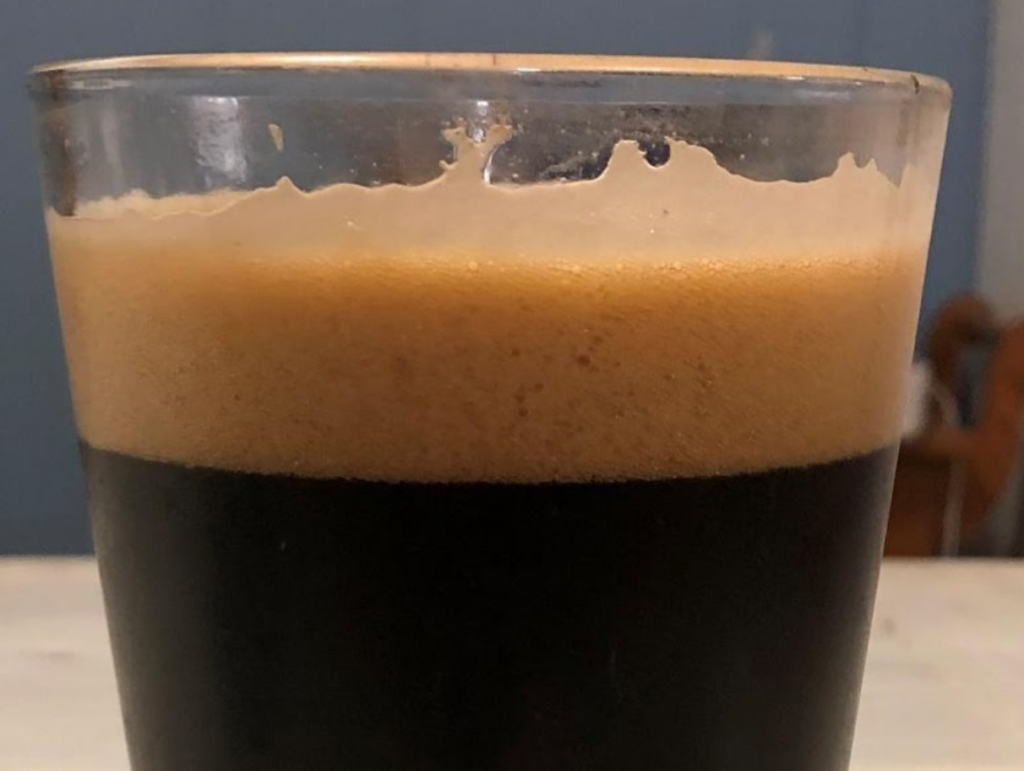
Easy Extract Stout
Fermentables
6.6 lbs – Dark Liquid Malt Extract
0.5 lb – Roasted Barley Malt (Steepling Grain)
0.5 lb – Black Patent Malt (Steeping Grain)
Hops
1oz – East Kent Goldings – 60 minute boil addition
1oz – East Kent Goldings – 10 minute boil addition
Other Additions
1 Whirlfloc Tablet – 15 minute boil addition
Yeast
WYeast 1084
Easy Extract Irish Red Ale
Fermentables
6.6 lbs – Amber Liquid Malt Extract
0.25 lb – Roasted Barley Malt (Steepling Grain)
0.75 lb – Crytsal 40 Malt (Steeping Grain)
Hops
1oz – East Kent Goldings – 60 minute boil addition
Other Additions
1 Whirlfloc Tablet – 15 minute boil addition
Yeast
Safale S-04
Moving To All Grain Brewing
As I stated earlier, All Grain brewing adds the step of mashing your grains to the brewing process. Many brewers convert an insulated beverage cooler to mash their grains. This process requires a false bottom and a valve to drain the wort into the boil kettle. To streamline the process and use just your boil kettle, I recommend getting a grain bag big enough to fit your boil kettle. There are several suppliers and some allow you to customize the size of the bag to fit your specific kettle. The mash temperature range is from 145F-158F(63C-70C). If you mash at the lower end of the range then you will extract more fermentable sugars and your finished beer will be drier. Conversely, if you mash at the upper end of the range, you will create a sweeter finished beer. The rest of the brewing steps are exactly the same as we discussed earlier.
Easy All Grain Blonde Ale
Fermentables
8 lbs – Pale Malt
1 lb – Crystal 20 Malt
Hops
1 oz Amarillo – 30 minute boil addition
Other Additions
1 Whirlfloc Tablet – 15 minute boil addition
Yeast
Safale S-04
Easy All Grain Amber Ale
Fermentables
8 lbs – Pale Malt
2 lbs – Munich malt
1 lb – Crystal 60 Malt
Hops
1 oz – Williamette – 60-minute boil addition
1 oz – Williamette – whirlpool addition
Other Additions
1 Whirlfloc Tablet – 15 minute boil addition
Yeast
White Labs WLP060
Easy All Grain IPA
Fermentables
8 lbs – Pale Malt
1 lb – Caramel Malt 20L
Hops
1oz – Citra – 60 minute boil addition
1oz – Amarillo – 10 minute boil addition
1oz – Cascade – whirlpool addition
Other Additions
1 Whirlfloc Tablet – 15 minute boil addition
Yeast
Safale US-05
Easy All Grain Stout
Fermentables
10 lbs – Maris Otter Malt
0.5 lb – Roasted Barley Malt (Steepling Grain)
0.5 lb – Black Patent Malt (Steeping Grain)
Hops
1oz – East Kent Goldings – 60 minute boil addition
1oz – East Kent Goldings – 10 minute boil addition
Other Additions
1 Whirlfloc Tablet – 15 minute boil addition
Yeast
WYeast 1084
Easy All Grain Irish Red Ale
Fermentables
8 lbs – Maris Otter Malt
0.25 lb – Roasted Barley Malt (Steepling Grain)
0.75 lb – Crytsal 40 Malt (Steeping Grain)
Hops
1oz – East Kent Goldings – 60 minute boil addition
Other Additions
1 Whirlfloc Tablet – 15 minute boil addition
Yeast
Safale S-04
These recipes are fairly simple and designed to be as easy as possible to make with the least amount of equipment. It is important to remember that this is a fun obsession and you can make it is easy or as complex as you desire, but the important thing to remember is that we get beer in the end.

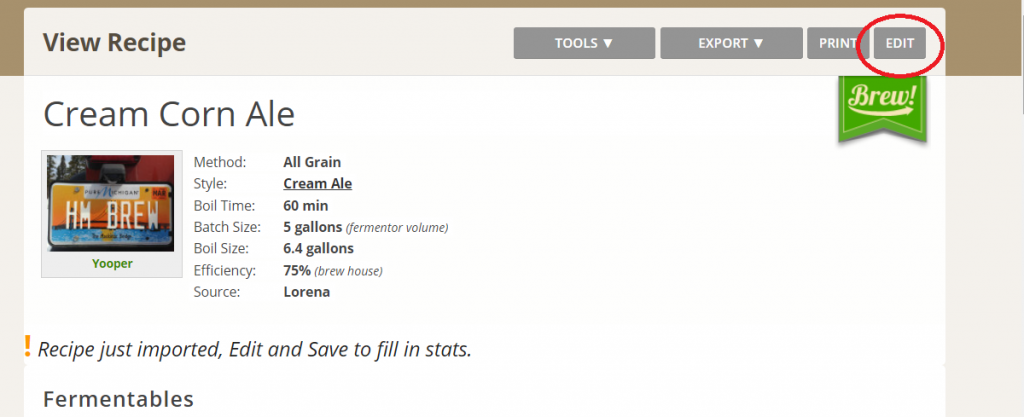
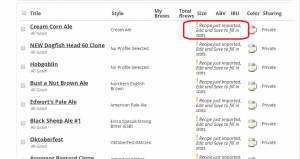 your dashboard under “My Recipes”.