


Barrel-Aging Beer: Stout and Saison
Thursday, September 30th, 2021Advanced Brewing Series
By Jim Vondracek
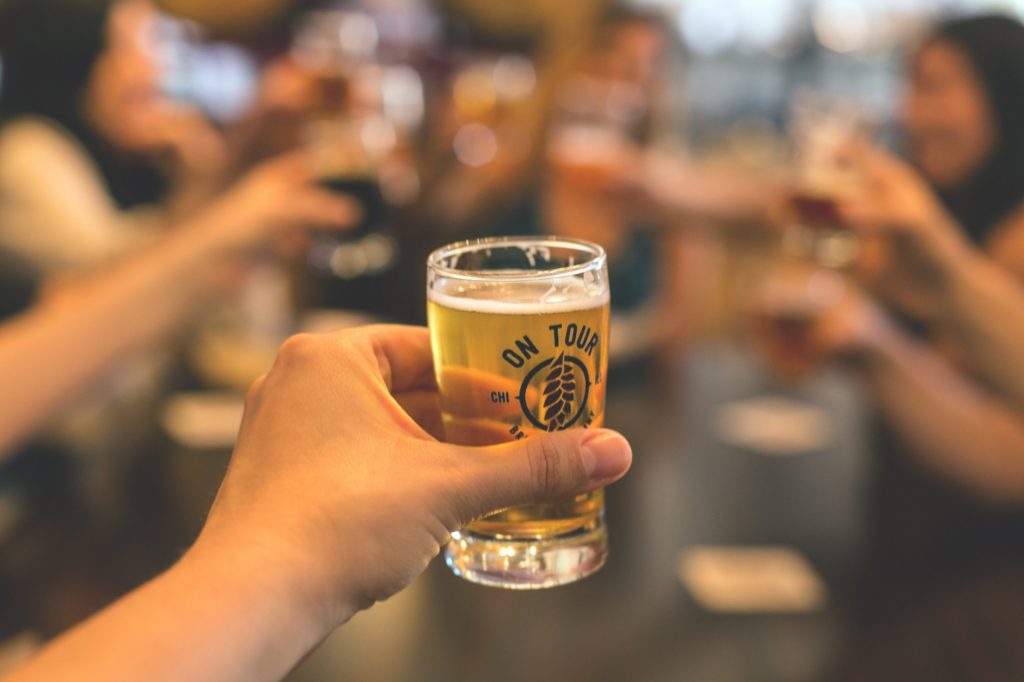
In past centuries, all beers were fermented and sometimes aged in wood. Today, brewers seek to add complexity to beers, layering flavors and aromas, by aging beers in barrels. Some of these beers are the most sought-after commercial beers on the market – ‘whales’ – and breweries make a big deal about their release. These beers inspire collectors to buy, age and sometimes trade them for a profit.
As a homebrewer, I’ve participated in about twenty barrel projects and am a big fan. While Belgian brewers have been wood-aging Lambics forever, some claim that the more-recent commercial brewery barrel-aging phenomenon was inspired by homebrewers doing what we do best – experimenting!
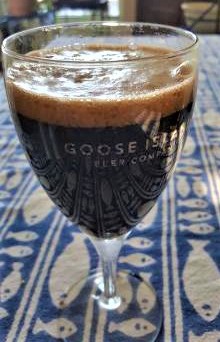
Whether it was inspired by homebrewers or not, sources generally agree that Goose Island began the movement among commercial breweries when they released their Bourbon County Stout in 1992. It is a fascinating story and, if you haven’t already had a chance, you should read Josh Noel’s book “Barrel Aged and Selling Out” – it’s not only about the development of Bourbon County Stout, but that is a key part of the story.
In this article, I will lay out the basics you need to know about wood-aging beer for homebrewers and share recipes and process for a couple of medal-winning barrel-aged beers – a bourbon barrel-aged Imperial Stout and a gin barrel-aged Saison.
Not Just Barrels
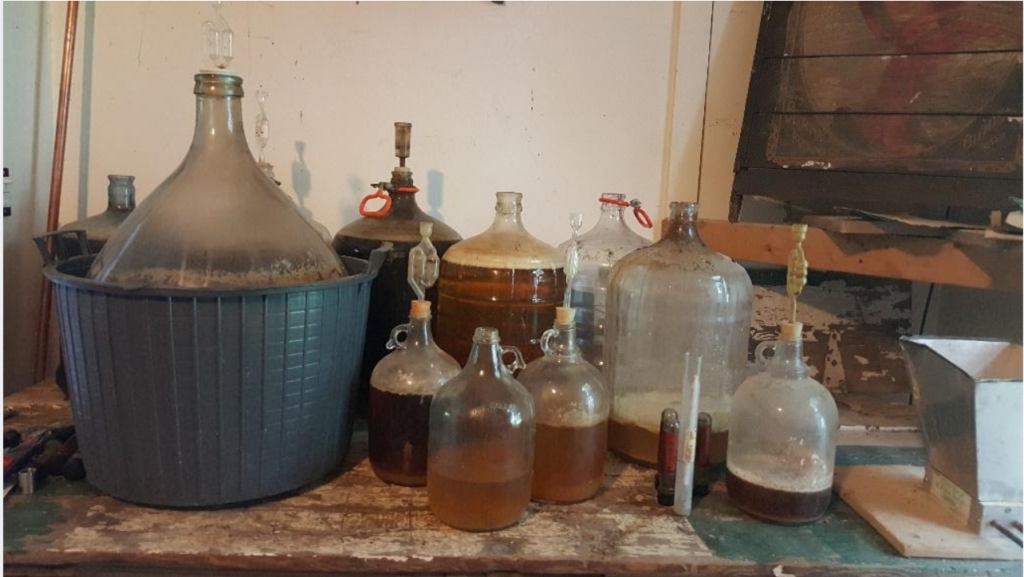
For most of this article, I’m going to write about barrel aging, because that is what I have experience in and know. Many homebrewers who don’t have a barrel use other products to get similar character – the most common are wood spirals.
The ratio of wood surface to beer – how much of the beer is directly in contact with the wood – is a key concept and one of the big differences between aging in a barrel and using wood spirals in a secondary vessel. The wood spirals will have a high ratio, with a higher percentage of the beer in contact with the wood, lending more wood character more quickly than a barrel.
You can buy wood spirals at many homebrew stores, at different char levels. Some brewers will soak the spirals in whiskey or bourbon before adding them to their finished beer, to lend spirit complexity in addition to wood. The spirals are added post-fermentation, often in a secondary vessel. My only experience in using wood spirals was adding wood character to a group whiskey distilling project I was a part of, and they worked well, adding a nice, dark-charred oak character to the whiskey with significant vanilla character.
Two key differences to using wood spirals over barrel aging: 1) you don’t have to acquire or store a barrel and 2) you can use spirals in typical five gallon homebrew batches.
Sourcing Barrels
For most homebrewers, the first step to doing a barrel-aged beer is acquiring a barrel. You can acquire a barrel that a commercial brewery has used for aging beer – they originally acquired it from a distillery. There is nothing wrong with using a barrel from a commercial brewery, but I prefer to get my barrels directly from the distillery. They have more spirit and wood character and are less likely to have any wild yeast or bacteria working away in the wood.
There are some online services that source barrels from distilleries and they are a reasonable option if you don’t live near a distillery, but you will pay a premium for the service and the shipping costs are significant.
I live in Chicago and have a number of distilleries near me, so have been able to acquire barrels directly. Generally, you need to reach out to the distillery and ask. One of my local distilleries, Koval, has a program for selling their barrels – I just reach out and ask them if they’ve got any barrels currently available or if they know when they will.
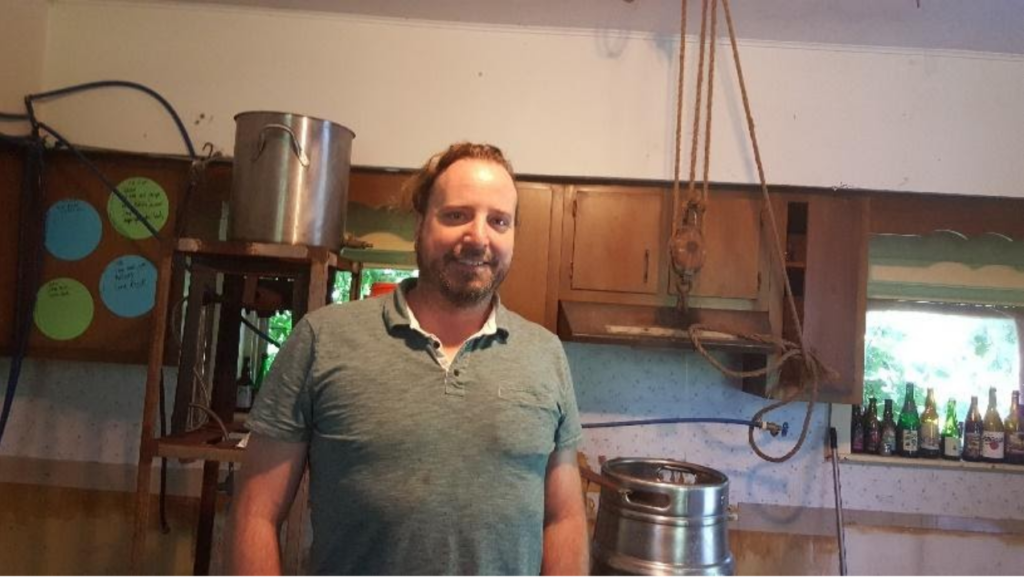
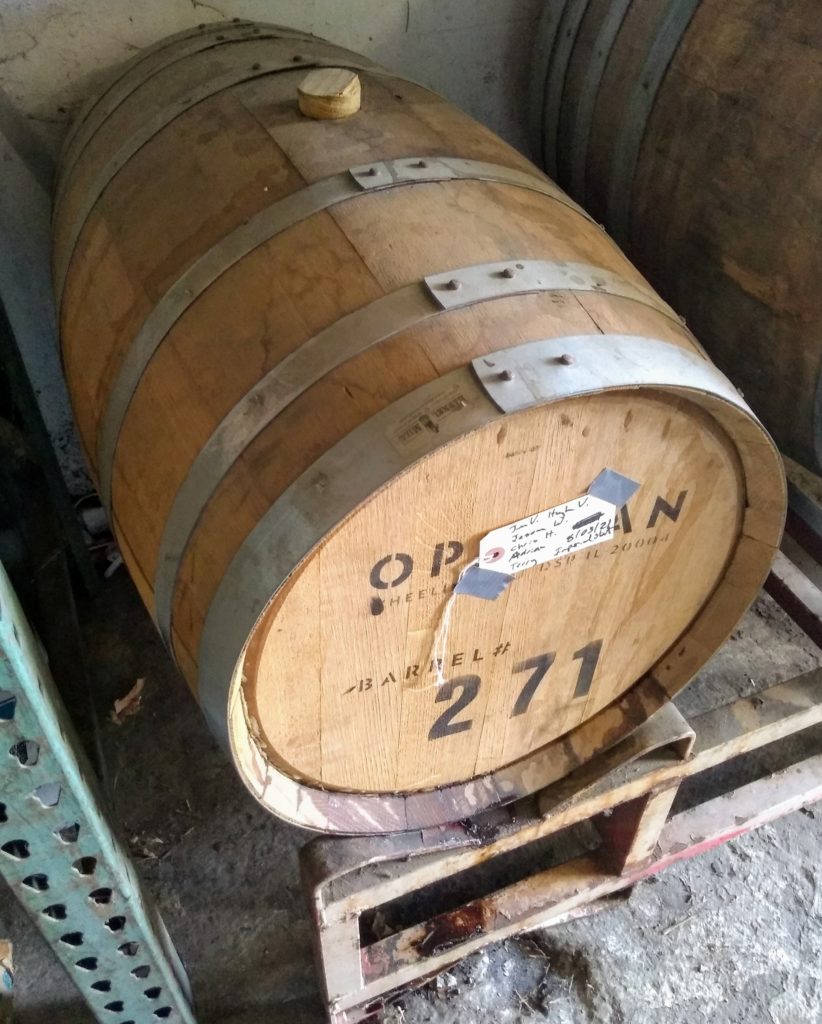
I’ve also developed a relationship with a smaller distillery in the area, Oppidan, and have made some excellent beers in two of their bourbon barrels. The distiller is Jeff Walsh and he founded Oppidan, located in Waukegan, Illinois in 2015. If you’ve not had his products, you should seek them out.
When I am looking for a barrel, I call or email Jeff and generally work something out. One of my vehicles is a hatchback and I can fit a barrel in it, so I drive out to the distillery and Jeff helps me load it in.
In the past, I have paid anywhere from $45 to $150 for a barrel when purchasing directly from a distiller.
Types of Barrels
All the barrels I am familiar with are made of oak. According to the internet, sometimes hickory, maple, redwood, walnut, cherry, and chestnut are used by distillers and wine makers, but I have never drank a wine or distilled spirit aged in those woods – they seem to be rare.
Aside from the wood used, another variable is the type of spirit aged in the barrel before it is used to age beer. Bourbon barrels are the most common for homebrewers, in part because bourbon makers can only use their barrel once and then must replace it with a new, unused barrel, in order to call their spirit bourbon. Whiskey or Scotch barrels are less common, because they don’t have the same restrictions.
Increasingly, homebrewers are finding other types of barrels available to them. Distillers have been aging batches of their gin in oak barrels. A small distillery near me barrel ages Sherry and Amaro (a bitter Italian digestivo). Of course, wine makers have been aging wine in barrels forever, also.
Char Levels
All the barrels I’ve used have been charred, to some extent. The distillers use different char levels for different effects. The reactions in the wood to charring are more complex than just smoke – charring causes a reaction with the hemicellulose in wood that breaks it down into wood sugars, essentially carmelizing the wood. Ligin is degraded, leaving vanillin compounds, which yield those characteristic vanilla flavors many of us love in bourbon and bourbon barrel aged beers. Also, higher char levels mellow the tannin in the wood.
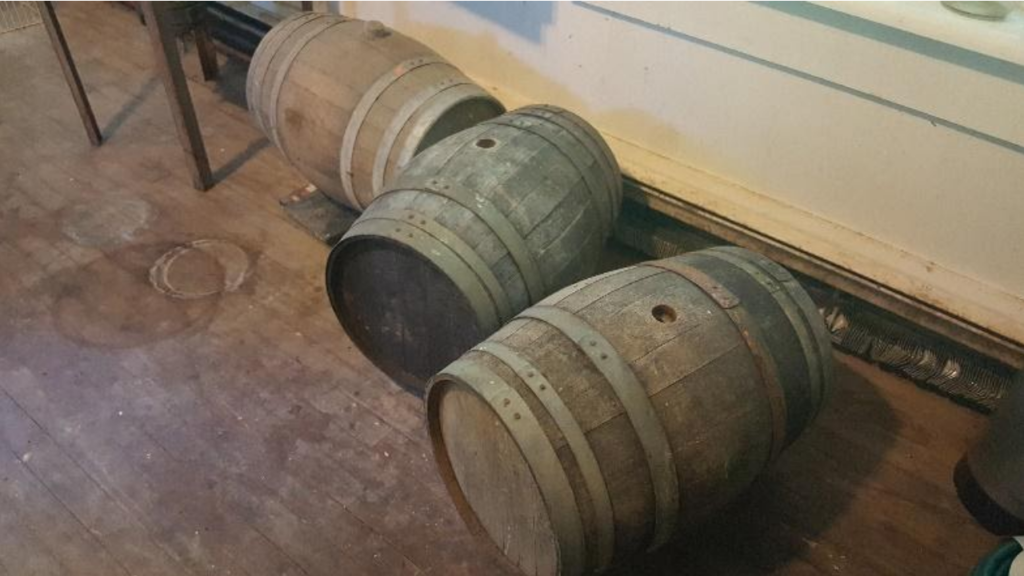
Storing, Filling and Emptying the Barrel
One reason homebrewers may use spirals instead of barrels is the space a barrel requires.
If you have the space, though, basements are ideal for barrels, in that they keep a fairly steady temperature. The temperature changes in a garage, though, can also be interesting, as the beer and barrel expand and contract as the temperatures change, drawing the beer in and out of the wood.
You need to think through getting the beer in and out of the barrel as you decide how exactly you are going to store the barrel. If you don’t have a pump, you need the barrel to be high enough that you can use gravity to empty it, but not too high that you can’t fill it via gravity. Once, I stored a barrel in my garage, on saw horses that were about waist high – I used a ladder to fill it from above, and then emptied it into kegs below, with an autosiphon and tubing.
These days, I brew at the CHAOS homebrew club brewhouse, and we have a barrel rack which can hold four 50+ gallon barrels on the bottom rack and four or five smaller barrels on the top rack. For the club, I acquired a pump that winemakers use to transfer wine from fermenter to barrel – it is self priming and uses a diaphragm. It cannot transfer hot liquid, but for this purpose, it gently moves beer in and out of the barrel without worrying about priming the pump. I bought ours from Bobby at brewhardware.com and highly recommend it.
Barrel Sizes
I’ve used barrels from distillers that were 15 gallons, 30 gallons and 52 gallons. Because of the wood:beer surface ratio issue I raised earlier, each of these sized barrels are a little different – the smaller the barrel, the higher percentage of wood in contact with the beer, theoretically reducing the aging time. Also, availability of barrels in these sizes vary – my 15 gallon barrel was from Oppidan, but Jeff no longer uses those as his distillery has grown.
Perhaps the biggest difference that barrel size makes, though, is in how you organize the barrel project. A five gallon barrel (which can be bought new online) can be filled by one brewer. Some homebrewers may be able to brew fifteen gallon batches, but not most. For that size and larger, you need to run a barrel project, inviting other brewers to join you and then organizing the whole thing.
Organizing the Barrel Project
For my projects, I purchase the barrel, I don’t ask others to divide the cost of the barrel with me – that way, it is clear that I own the barrel and, in the end, make decisions about the barrel. But some brewers prefer to divide the cost up front and that works fine, also.
I decide upon a style and then contact other members of my homebrew club, inviting them to join the barrel project. Usually, I intentionally include newer members of the club who may not have had the opportunity to participate in a barrel project before – that’s how we build the homebrewing community. So, for my projects, it’s usually a mix of more experienced and less experienced brewers.
Once the roster for the project is set, I come up with the recipe and share it with other brewers. Because these beers are going to be blended in the barrel, I often will give options in the recipe – for example, if its an English barleywine, I may suggest using either East Kent Goldings, Challenger or another English hop, depending on what the brewers might have on hand or can easily get ahold of. If there is something important in the recipe, though, I make sure I note that – for the barleywine, for example, using Maris Otter as the base grain is essential.
I give the brewers a deadline when we’d like the beers to be done and then a day to fill the barrel. They can join me for that, but they don’t have to – I go ahead and fill the barrel with their beer. If a brewer misses the deadline, I don’t stress – I just add their beer when its ready.
How Long to Age? The ‘Barrel is Magic’ Theory
How long to age in a barrel is the key question for many homebrewers. In my experience, the only barrel I’ve used where it was an issue was the small 15 gallon barrel, because of the high wood:beer surface-area ratio. For larger barrels, I have become an adherent of what a friend once termed the magic of the barrel. Basically, I fill the barrel and leave it alone. At the beginning of the project, I decide how long I’m going to let the beer age, which is always at least a year for the larger barrels, and I don’t muck around with it.
It is tempting to taste the beer as it ages, but in my experience, that often leads to the barrel being emptied too early. I have a reasonably good palate and I find it hard to gauge when a beer is done in the barrel or not. As my friend put it, let the magic of the barrel happen, don’t rush it, don’t interfere with it.
Obviously, as you age more batches in the barrel, both it’s spirit and wood character will diminish and you can age batches longer in it, if you wish. Generally, for the first use of a barrel, I age six months for a 15 gallon barrel, 1 year for a 30 gallon barrel, and 1.5 years for a 50+ gallon barrel. For successive uses, I often increase the time.
If a beer comes out of the barrel and has too much barrel character, it’s a simple problem to solve – blend it with some non-barrel aged beer of the same style. But I have found that is seldom necessary.
Pairing Styles with Barrels
Bourbon barrels seem to be made for pairing with Imperial Stouts – such a delicious combination. I have also aged Imperial Porters, American Barleywines, an historic Arctic Ale (a dark, sweet, strong Burton ale brought by Shackleton on his Arctic expeditions) and a Belgian Dark Strong in bourbon barrels.
Other barrels may call for other styles. The gin barrel I used was a lighter char and lent significant gin botanicals to the beers aged in it. We aged a series of Belgian-ish styles in it, including Saison, Golden Strong, Biere de Garde and a Quad.
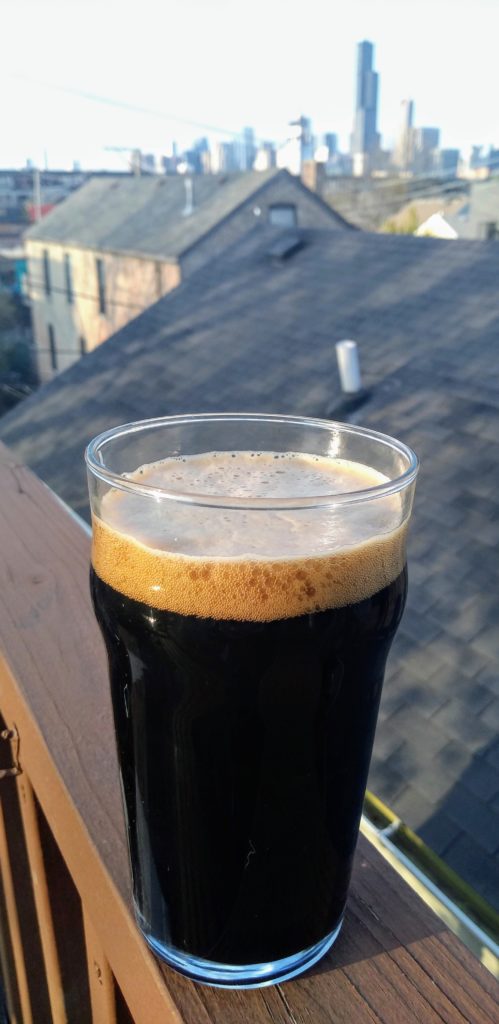
Bourbon Barrel-Aged Imperial Stout
I’ve learned from experience that I most enjoy Imperial Stouts aged in bourbon barrels that push the upper limits of gravity, both starting and final. The barrel, with its oak tannins, tends to thin out our impression of the beer’s mouthfeel, and for a barrel-aged imperial stout, a big, full sipping beer is the hallmark.
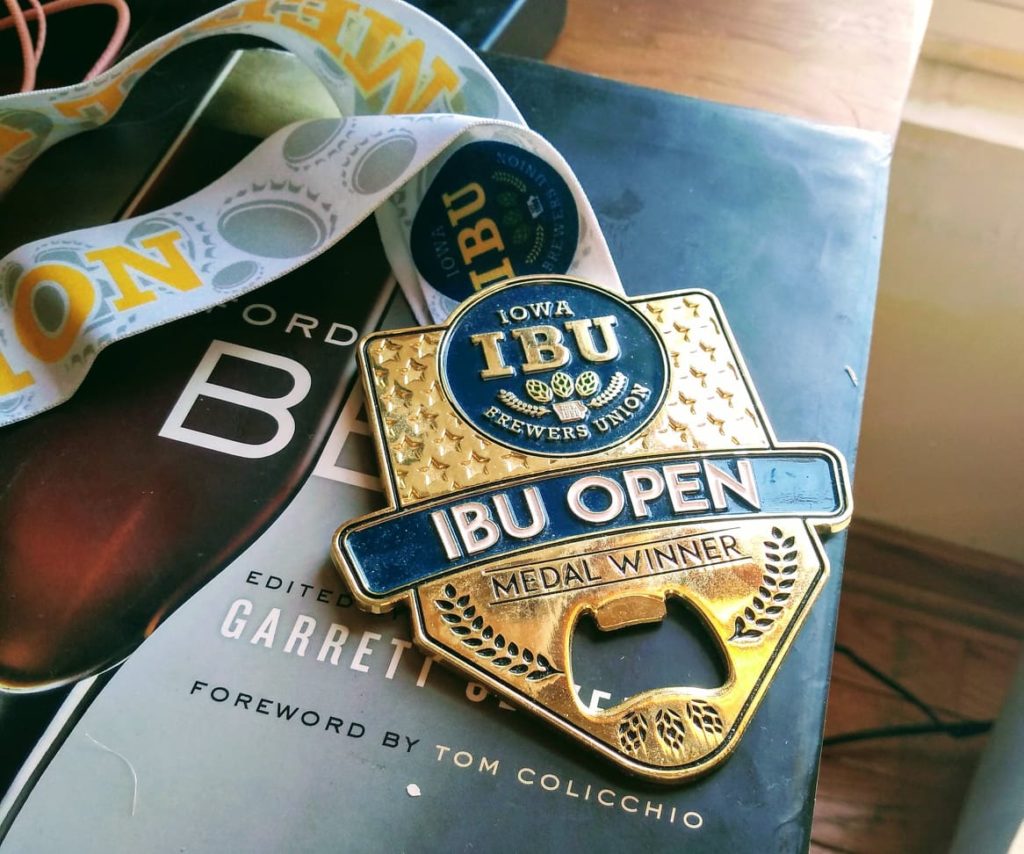
A couple of years ago, our bourbon barrel-aged Imperial Stout won a gold medal at the annual Brixtoberfest competition. For that beer, we aged it in a 15 gallon Oppidan bourbon barrel for six months, as the first beer in the barrel. Five brewers got together and we brewed three typical five-gallon batches together, on the same evening. We fermented in a temperature controlled ferm room at 65F and when fermentation was done, we added it to the barrel.
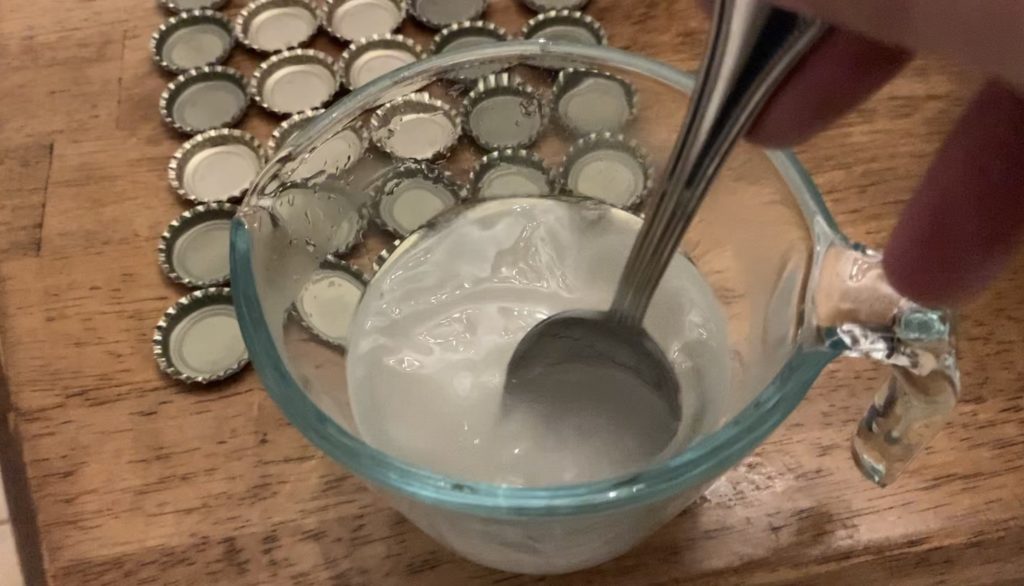
Typically, we don’t worry about fining or aging the beer before adding it to the barrel – it will have plenty of time to smooth out and clarify in the barrel. After barrel-aging, I emptied my portion into a keg and force carbed it, then bottled it with a beer gun and stored the bottles. It had aged about nine months in the bottles before I sent it to the competition, so had aged about 15 months total.
View the Recipe on Brewer’s Friend
The Numbers:
Batch Size – 10 gallons
Mashed at 156F
Single Infusion, Batch Sparge
Fermented at 65F
Original Gravity 1.121
Final Gravity 1.026
Bitterness 54 IBUs
Color 55 SRM
Grain Bill:
15 lbs Pale Malt
5 lbs Vienna Malt
3 lbs Munich Malt – 10L
2 lbs Chocolate Malt (350.0 SRM)
2 lbs Roasted Barley (300.0 SRM)
1 lbs 8.0 oz Caramel/Crystal Malt – 75L
1 lbs Black Prinz (500.0 SRM)
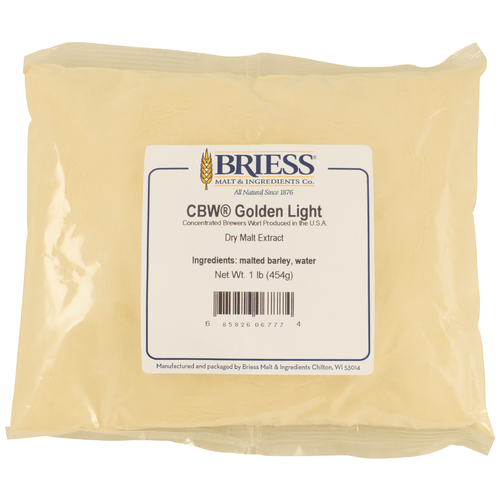
12 lbs Light Dry Extract
Hop Schedule:
5 oz Challenger (6.8%) 60 mins
4 oz E.K. Goldings (5.6%) 20 mins
Yeast and Fermentation:
4 packs of US-05
Clarity Ferm
Fermented at 65F
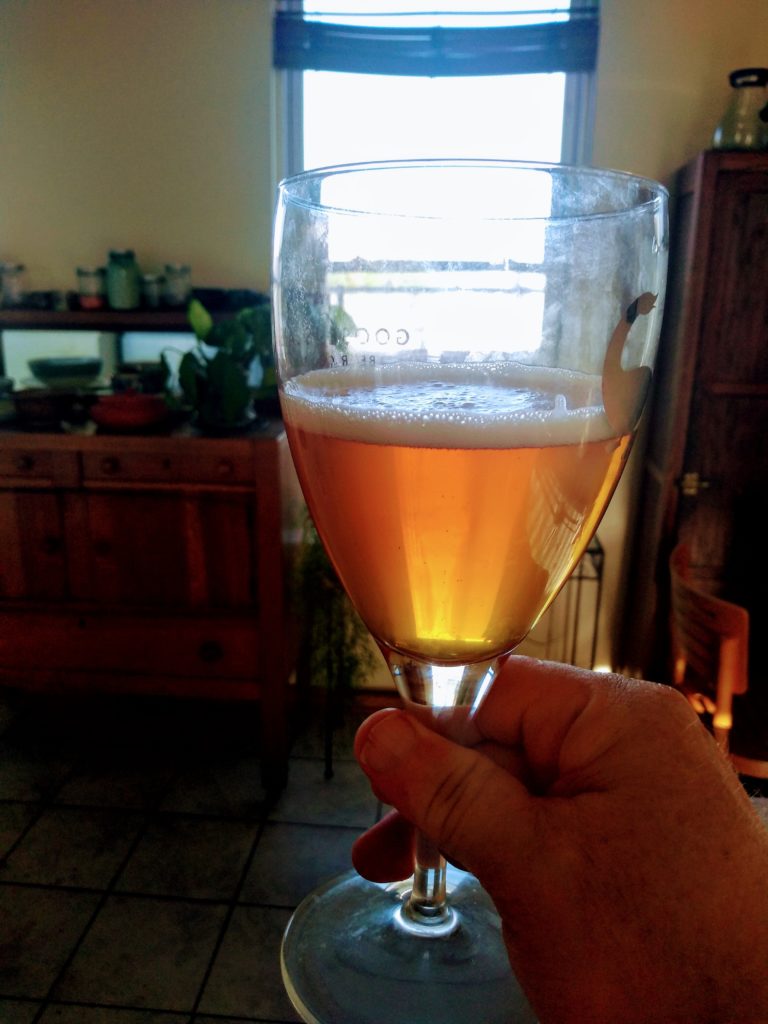
Gin Barrel-Aged Saison
In 2019, a Saison we aged in a gin barrel won a silver medal at the Happy Holidays competition in St. Louis. The gin barrel was from Koval, which had first aged a rye whiskey in it, then a batch of gin. This was the second beer we aged in this thirty gallon barrel. We left the beer in the barrel for one year, I kegged our portion, force carbonated it, bottled it using a beer gun and stored the bottles. We entered the beer in the competition about six months after bottling it.
The base Saison was purposefully lemon-forward – we used Sorachi Ace hops which lent a prominent citrus and lemon flavor, which I think worked wonderfully with the wood and gin botanicals.
View the recipe in Brewer’s Friend
The Numbers
Batch Size: 5 gallons
Original Gravity: 1.057
Final Gravity: 1.008
Bitterness: 34 IBU
Color: 4.3 SRM
Single Infusion Mash 152F
Batch Sparge
Grain Bill
9 lbs Pilsner
1 lbs Munich Malt
1 lbs Wheat Malt
12 oz Table Sugar
Hops
0.75 oz Sorachi Ace (13% aa) 20 min
0.50 oz Sorachi Ace 15 min
0..50 oz Sorachi Ace 10 min
Yeast and Fermentation
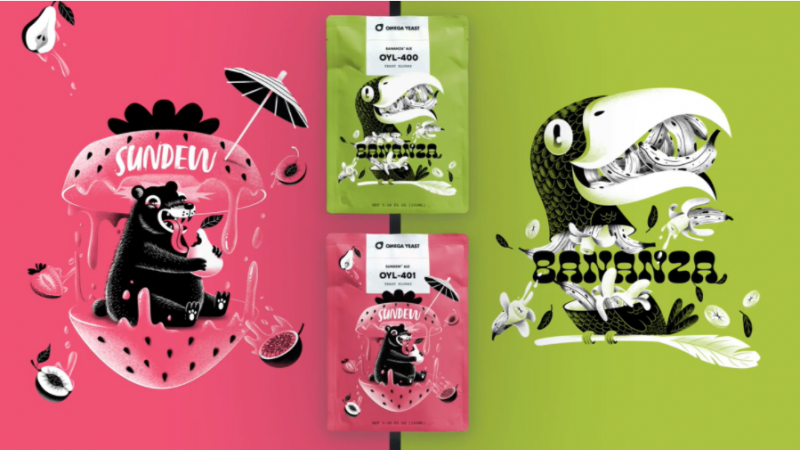
Omega Yeast’s French Saison
Clarity Ferm
Fermented at 65F, cold crashed at 34F