

Priming Sugar 101: How To, How Much, and When To Use?
Thursday, September 24th, 2020by Chris Cook
Congratulations. You nailed your brew day, you’ve made it through what probably felt like several long weeks of fermentation, and your precious wort is now precious beer. Now just one step remains between you and a cold, bubbly glass of homebrew: Priming.
What is Priming?
Without priming, the beer a homebrewer has invested so much time, energy and money into will pour flat and lifeless. Proper priming gives beer its trademark carbonation and foamy head and can significantly benefit aroma, taste, mouthfeel and overall appearance. Priming is essentially the home stretch of the marathon that is homebrewing, but luckily it’s a simple process that’s made even easier by the wealth of equipment and resources available to homebrewers today.
Newcomers to homebrewing likely prime their beer directly in the bottle. This process, known as bottle priming, involves mixing dissolved sugar with beer, transferring it to bottles, and securing those bottles with an air-tight seal. Yeast leftover in the beer from fermentation eats away at that added sugar in the bottle and produces carbon dioxide gas, which remains in the beer until it’s ready to pour. It’s the same process that produces the air bubbles in an airlock during fermentation. The difference is that during bottle priming, homebrewers want to trap that CO2 gas in the bottles to create carbonation.
There are several “must-have” pieces of equipment a homebrewer needs to bottle prime, including a bottling bucket with a spigot, food-grade tubing, a siphon or racking cane, and a bottling wand (spring-loaded is best). However, the most important aspect of the process is sugar.
How much sugar, what type, and how it’s added to the beer can all impact the final product that comes out of the bottle. Fortunately, the Brewer’s Friend Beer Priming Calculator makes it easy for homebrewers both novice and veteran to dial in the priming of any brew. Simply enter the volume of beer to be bottled, the desired volumes of CO2 (more on that shortly) and the temperature of the beer being bottled. The calculator will then give an exact measurement of how much priming sugar to use.

However, before getting started, there are a few things every homebrewer should be mindful of when it comes to bottle priming. First, there is a very real danger of creating infamous “bottle bombs.” These are exactly what they sound like – bottles of beer turned into explosives by excess pressure produced from the priming process. Remember that the point of bottle-priming is to trap CO2 gas inside the bottle. However, a standard beer bottle has a limit on how much pressure it can contain before it explodes, which is why it is of utmost importance to use the proper amount of priming sugar AND use proper sanitation practices to avoid introducing unpredictable bacteria and wild yeast to the beer. You also want to ensure that the fermentation is actually complete and not just stalled.
As scary as bottle bombs may sound, they can be easily avoided by adhering to several familiar principles all homebrewers should follow: proper sanitation, careful handling of the beer, and attention to detail.
How Much Priming Sugar Do I Need?
With bottle priming, the first choice a homebrewer encounters is how carbonated he or she wants their beer to be. That carbonation is measured in “volumes of CO2,” which vary by style and taste. Most beers will fall between 2.0-3.0 volumes, which conveniently is the amount most standard beer bottles can hold. For reference, the Brewer’s Friend Beer Priming Calculator lists a number of beer styles and their appropriate ranges of carbonation.
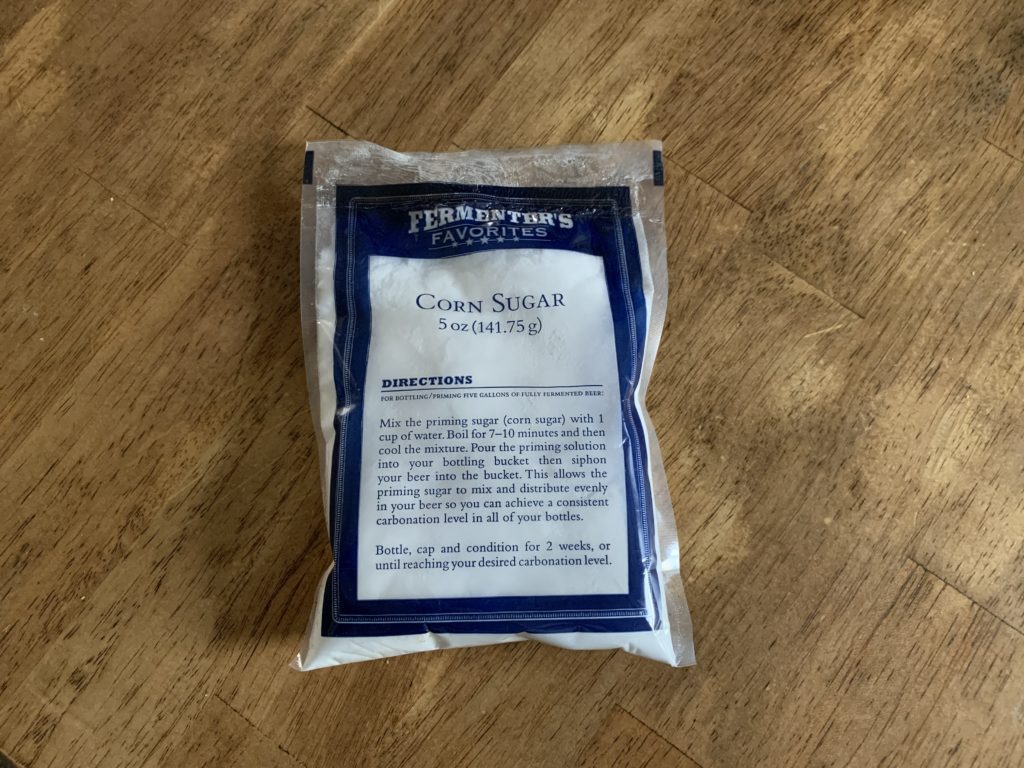
The next decision regards what type of sugar to use to prime the beer. Different sugars will impact the final product in various ways, from the negligible impression of common table sugar to other options such as dried malt extract (DME), honey and candy syrup, which leave trace characteristics and take longer to carbonate. Table sugar and corn sugar are the most common products used because of their neutrality, availability, simplicity to handle, and the quickness in which they finish up. Beginners should stick to one of those until they have nailed their bottle-priming process, though the Brewer’s Friend Beer Priming Calculator will be ready and waiting with calculations for each type of priming sugar when homebrewers decide to experiment.
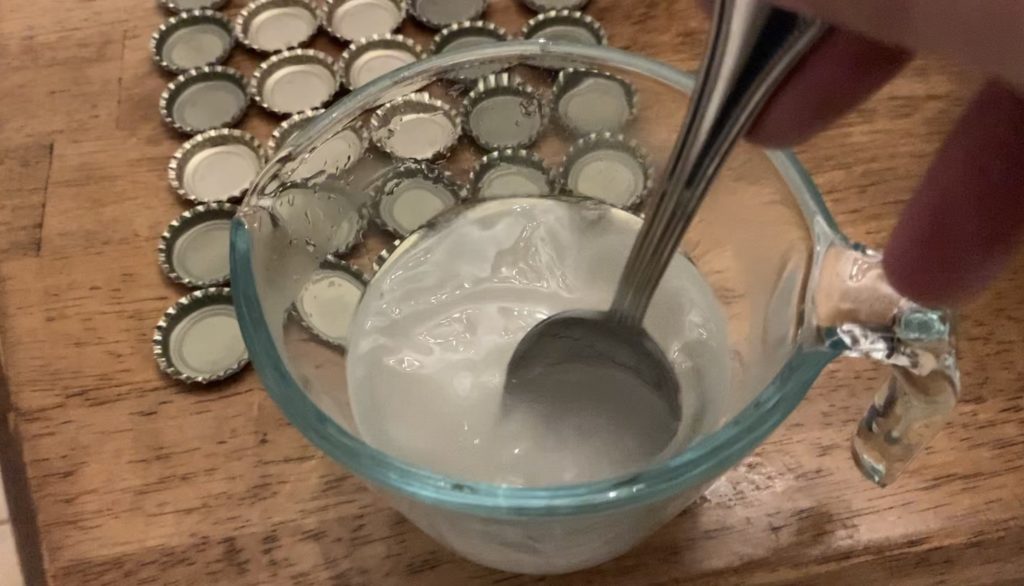
The last variable is how a homebrewer introduces priming sugar to the beer. The tried-and-true method is to dissolve the chosen sugar in boiling water, cool it down to approximately 80 degrees, and pour it into the bottling bucket. From there, the beer is carefully transferred from the fermenter to the bottling bucket where it mixes with the sugar solution. Splashing can lead to dreaded oxidation, so take care to transfer slowly (auto-siphons help tremendously).
Once the beer and priming sugar have been mixed in the bottling bucket, the beer is ready to be bottled, capped, and stored. Most table sugar-primed beers take 2-3 weeks to fully carbonate if stored between 65-70 degrees. However, it’s always a good idea to test the carbonation by refrigerating and testing one bottle at two weeks, another at three weeks and so on, until the carbonation levels off.
Note that while bottle priming is a process most common for beginners (compared to kegging), it is by no means unique to newcomers to the hobby. Many lifelong homebrewers, and many breweries at that, still bottle prime and bottle condition their beer because of the unique characteristics it can, and how much easier and cost-effective it is compared to kegging. Any homebrewer that can properly bottle prime his or her brews will never be in short supply of consumables for themselves and their fellow beer-lovers.


Sorry, comments for this entry are closed at this time.