brewing water - Brewer's Friend
Brew your best beer EVER. Start your Free Trial of Brewer's Friend today! Sign Up ×

Brewing Water Basics Part 2

Sunday, November 19th, 2017

brewing water basics alkalinity

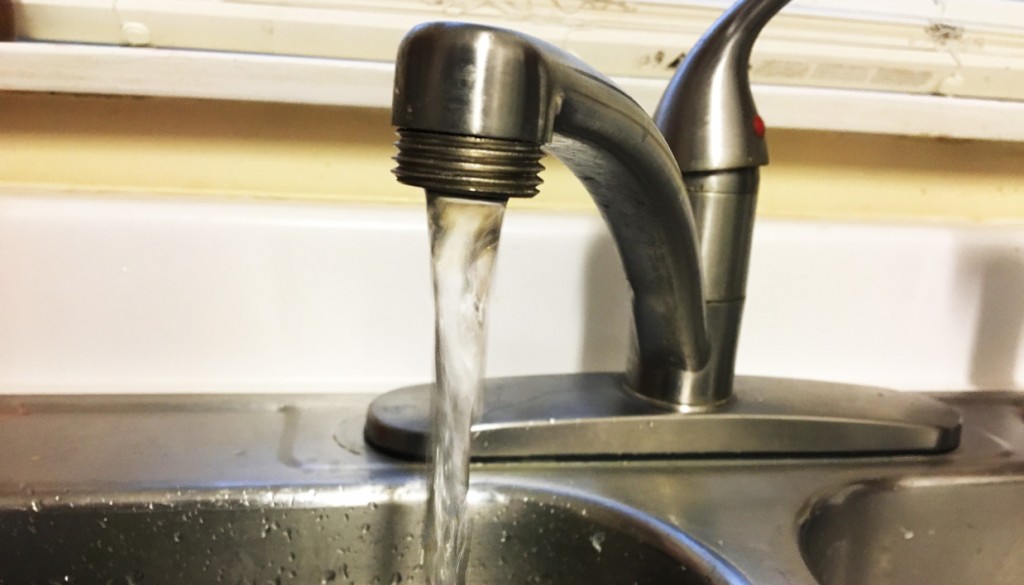
This article is a continuation of a three-part series. Check out part one here.

You may have heard that you have “hard” water, or “soft” water. Hardness in water is mostly due to the calcium and magnesium ions in the water. A low concentration of these is said to provide soft water, while high concentrations produce hard water. The hardness of your water varies regionally. In the Midwest the water tends to be hard, while in places like southern California and other coastal areas, the water tends to be soft. Neither type of water is inherently poorly suited to brewing, and both can be used successfully. In most cases, moderately hard water is ideal due to the need or desire for some calcium in the brewing water.

The hardness of your water is balanced by the alkalinity of the water. This is in the form of bicarbonates. Alkaline water is high in bicarbonates. In your water report, you should see “hardness as CaC03” in parts per million (ppm) or “alkalinity as CaC03” in ppm. The key to using your water is to determine its alkalinity and taking steps to provide the proper amount so that you can obtain a proper mash pH. The make up of the sparge water is important as well, and this should be kept in mind.

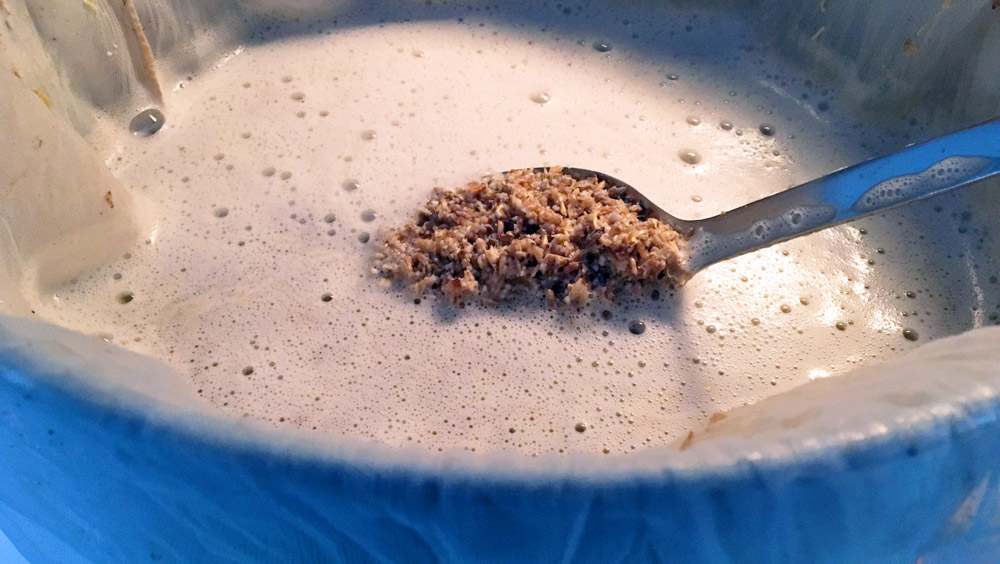
The pH of your starting water does not impact the mash pH as much as you would think. That is due to the buffering capacity of the water (the alkalinity) and the more acidic grains. Once the water is combined with the grains in your recipe, the mash pH will be determined. The mash pH is the important part of this—it determines many of the qualities of your beer (flavor, color, clarity) and is a factor in enzyme activity. These enzymes are what go to work to convert the starch in the malted grain to fermentable sugars. Providing a mash pH of 5.2-5.7 favors their activity, although the enzymes will work outside of that range. Narrowing the target mash pH to 5.3-5.5 will help to optimize the enzymes, and also enhance flavor. A higher pH will increase harshness in the finished beer, extracting more tannins and also increase the isomerization of hop oils so that the beer can come across as rough or coarse. To be clear, when we are discussing the pH during mashing, we are talking about the readings taken at room temperature. To check the pH, a very small sample (even a shot glass size) can be taken from the mash, cooled in an ice/water bath, and then checked when the sample is at 68-75 degrees. PH readings vary from mash temperatures to room temperatures, and any pH readings are always provided at room temperature. This also will help preserve the life of the probe on the pH meter. A good quality pH meter can be found for +/- $100 or so, and is highly recommended. There are pH strips available in the 5-6 pH range, but their accuracy is questionable and they can be very hard to read, especially with dark wort.

Sparge water should be acidified to have a pH of less than 6, to avoid tannin extraction as the gravity of the wort drops. Alternatively, water with minimal alkalinity can be used such as distilled or reverse osmosis water for this. Sparging with alkaline water can cause some harsh flavors as well as a puckering dryness in the finish.

Dealing with Alkalinity:

For some of us, the biggest challenge is dealing with high alkalinity in the water. For a moderate amount of alkalinity, some acid in the mash and sparge water can be an easy fix. For those with high alkalinity, there are options such as pre-boiling the water and racking off of the precipitate, lime softening, dilution with distilled water, or even installing a reverse osmosis system in your home to deal with this. Our article will discuss adding some acids to our brewing water to optimize the mash pH and sparge water alkalinity, and diluting your own water with distilled or reverse osmosis water.

For further information on reducing alkalinity with lime, please see: https://braukaiser.com/wiki/index.php?title=Alkalinity_reduction_with_slaked_lime . The technique is easy, but far beyond the scope of this article. This works well for brewers with good but alkaline water, and is worth considering as it is inexpensive.

One of the easiest ways to estimate your probable mash pH is with a brewing water spreadsheet. There are several available online, and in some brewing software programs you may already have.  We recommend the Advanced Water Calculator at Brewer’s Friend here:  https://www.brewersfriend.com/?p=2959&preview=true .  Each calculator may differ some in the algorithms they use, but most are fairly similar. With your water report in hand (or using the default for reverse osmosis water if that is your supply), you enter the values into the software where indicated, along with the volume of water you are starting with and the batch size. The volume of water you may start with may be a gallon or two more than your batch size, due to boil off and grain absorption and there will be a box for this. Using the recipe input portion, you add the amounts of the grains you are using in the current batch. The spreadsheets will then give you a projected estimate of the mash pH.  The water calculator in Brewer’s Friend is easy to use with a very small learning curve.

You will notice that almost all of the mash pH projections for light to amber colored beers will be higher than desired. That is where the acid additions come in. The acids of choice for brewers are lactic acid and phosphoric acid in the US and often CRS in the UK. There are others available, but many (such as citric acid) may have an undesirable flavor impact so lactic acid and phosphoric acid are more widely used in the US. Lactic acid may have a flavor impact in large amounts as well, so if you have more than moderately alkaline water you may wish to use phosphoric acid which is more flavor neutral. Make sure to look at the strength of your acid. Lactic acid usually comes in 88%, while phosphoric acid can be 10% or 88%. The spreadsheets have a place to add the acid of choice (with the strength) on them, and then recalculate the mash pH of your batch.

Since the grains have a natural acid content, when mixed with water the pH of the mash will naturally drop. Dark roasted grains are more acidic than pale grains, and will drive the mash pH lower without adding acid to the mash. Unless you are brewing a very dark beer, many water supplies will require some acid however, and pale beers most of all. Using a soft water with low alkalinity is a key to success with beers such as pilsners because of this, while brewing a stout will require some alkalinity to balance the acidic grains. That is where the spreadsheets can be helpful, so that the acid content of the grains is estimated and then balanced against the alkalinity of the water. Target a mash pH of 5.2-5.7, ideally 5.3-5.5, for best results. Don’t forget that readings are always done at room temperature. It is highly recommended to do a test mash- that is, a very small batch of the recipe you are using, with the same volume of water per ounce of grain, and to check the pH. You will then know how the entire volume will react, and can make adjustments to your acid additions as needed when making the batch.

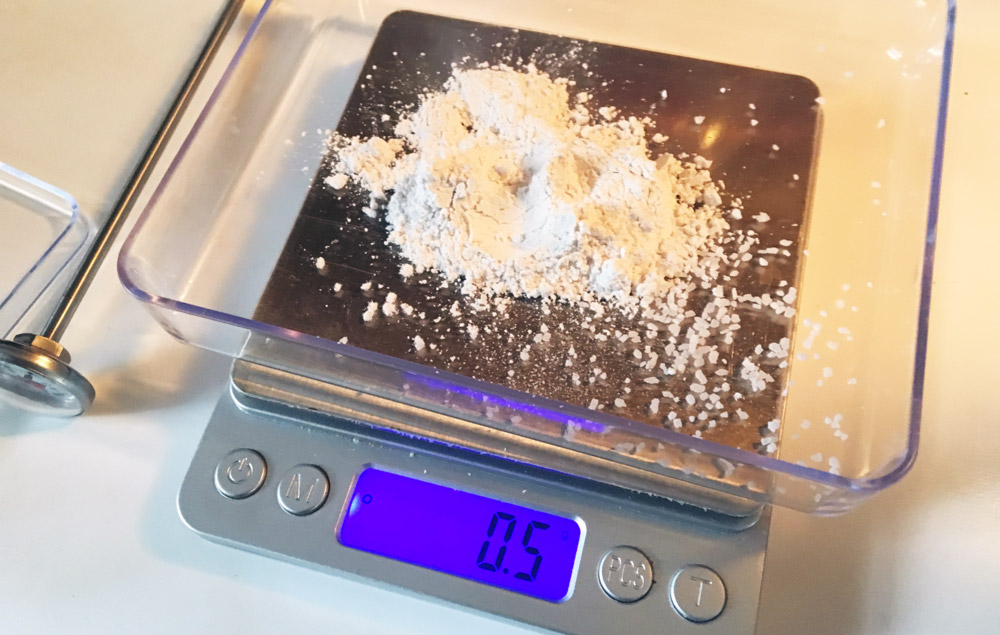
In rare cases, it may be necessary to add alkalinity to your water. For example, if you are starting with soft water with low alkalinity, the darker grains used in a porter or stout may drive your pH too low. Unless you have naturally high sodium in your water, baking soda is the addition of choice. Calcium carbonate (chalk) has been used routinely in brewing, but because of its limited solubility, it does not dissolve well in the mash unless extraneous measures are taken, and should be avoided.

heating brewing sparge water brewing water chemistry

It is also important to treat the sparge water if you have alkaline water. If you adjust your sparge water to have a pH of 5.5-6, and avoid any additions of alkalinity like baking soda, you should be all set. Many brewers will choose to sparge with 100% distilled or reverse osmosis (RO) water in lieu of acidifying the water, and that works well. To acidify the sparging water, lactic acid or phosphoric acid can be used. Often, this is very little acid especially if you are using 88% lactic acid so a pipette or dropper is very helpful. To avoid flavor impacts, using phosphoric acid is recommended if more than 5 ml of lactic acid in 5 gallons of water is required for the necessary pH drop. If you do not have a pH meter, the sparge water tool in the brewing water spreadsheets can be used.

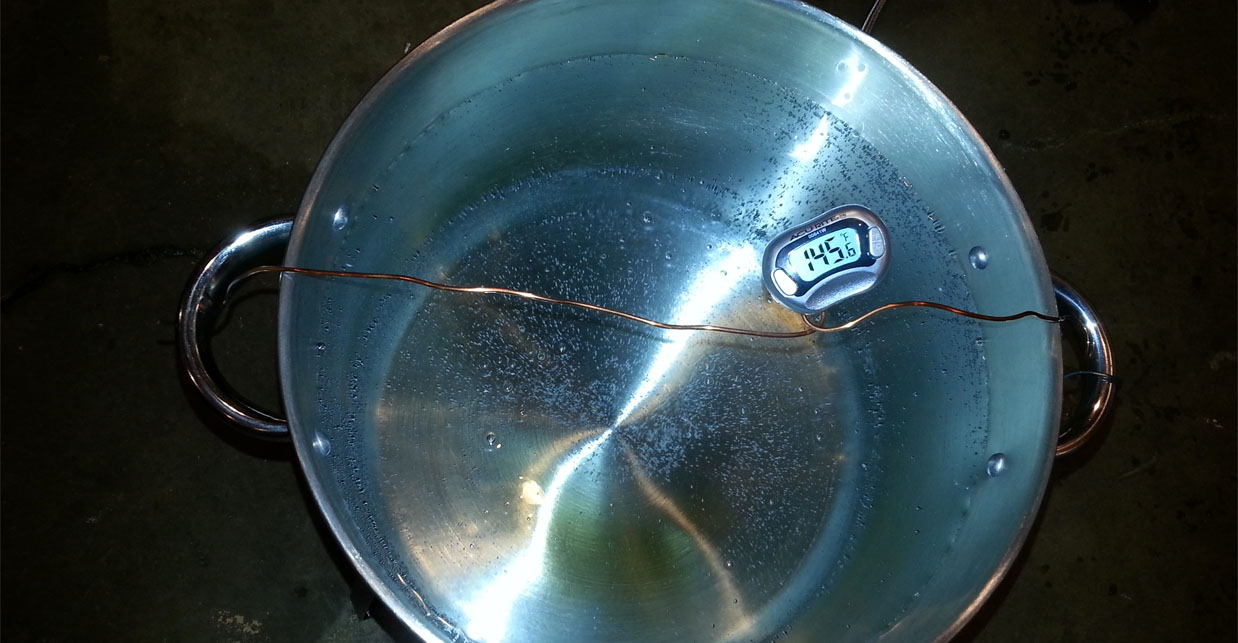
To check the mash pH, a small sample of the mash can be taken out and cooled to room temperature (72-75 degrees or so) and the reading taken with a freshly calibrated pH meter. A small shot glass cooled in an ice batch works well for this. The pH of the mash does change as the mash proceeds, however slight, and so the first reading should be taken within about 10 minutes of mashing in. If it is fairly close to the projected desired pH, it should be left and notes taken for next time as chasing pH can be futile if adding acid and then alkalinity to try to hit the target. If the mash pH is wildly off from the projected pH, a new reading should be taken before attempting any fix.

For many brewers, mash pH adjustments may seem overwhelming, at least at first, so further reading is recommended. This article attempts to break water chemistry down into the simplest methods and this is a very complex subject.

If all of this still seems very difficult at first, one of the quick and easy ways to get a likely acceptable mash pH is to start with 100% reverse osmosis (RO) water and add a bit of lactic acid or acidulated malt to it. That will be appropriate for most light/pale beers, although not as precise as targeting a mash pH with the water additions and grist in the recipe. Using RO water for the mash and sparging water, and using acidulated malt in the amount of 1-2% of the grainbill (usually 2-4 ounces in an 11 pound 5 gallon batch) will often get you quite close. For a stout or other beer recipe with 1# of dark roasted grain like roasted barley or black malt, leave out the acidulated malt.  This should result in an acceptable end product without worry.

We will talk about more specific steps to make water chemistry easier for you in the next article of our series.


Brewing Water Basics – Part 1

Sunday, November 19th, 2017

brewing water, mash water

For many brewers, water chemistry is treated as the last frontier of homebrewing. Oftentimes, it is ignored or at least not something homebrewers want to think about. The old adage “if your water tastes good, it’s fine to brew with” may be repeated, and believed. The brewer may work on refining recipes and take great pains to provide fermentation temperature control, but ignore the water used in brewing.

This is a mistake because the largest component of beer is the water. Managing the pH of the mash and the flavor contributions of the water can take a good beer to a great beer. While it’s true that poor tasting water will make poor tasting beer, the inverse is not always true. Great tasting water out of the tap may not be well suited to brewing. Additions to the water by the water supply company such as chlorine, or the more stable form called chloramine, keep your water supply safe for drinking but chlorine can negatively impact the flavor of the beer. In some areas, the water out of the tap may be high in bicarbonate or iron which can also negatively impact your beer. If you wish to not delve into water chemistry at all, it is advisable to use reverse osmosis water from the water dispensers at grocery stores or distilled water as it would be a blank canvas to start with. Even so, better beer can be made with paying attention to a few water additions and mash pH that will be discussed in this article series.

Where to Start With Brewing Water

Getting a water report from your water company, if using municipal water, is a great place to start. They should have all of the information available, but you may not get all of the information you need from them at first. They are required to test the water for safety, and will report contaminants and pesticides, but will not always give you the components that brewers are looking for in a water report. You can ask brewers around you about the water, but often the easiest way to get a report on what you need is by ordering a household minerals test from a testing company. If you have a well, this is likely the only way to get a report. One of the dangers will dabbling with brewing water is to add items per a recipe without knowing what you are starting with, so the report is crucial before beginning. A popular company is Ward Labs, but there are others out there. A basic test should run under $35 for what you need. You will require sodium, calcium, magnesium, sulfate, chloride, bicarbonate, and total alkalinity.

It’s also important to find out if your water company uses chlorine or chloramines for disinfection of the water. In order to use any water for brewing, this is a steadfast rule: the water must be chlorine free. Chlorine will off-gas and/or boil off, but chloramine is a more stable form of chlorine and will not easily boil off. It can be removed via campden tablets (potassium metabisulfite) easily. One tablet crushed and dissolved into 20 gallons of water and stirred well will remove chloramine (and chlorine) in most cases. Removing the chlorine, or purchasing reverse osmosis or distilled water should be the first step in dealing with water.

Understanding Minerals

brewing water mineral additions

The results from your water test will give you the ion concentrations in parts per million (ppm) or mg/l. These minerals are important for brewing water, because they can affect the suitability for use in brewing and have a flavor impact.

If you have iron in your water (look for discoloration in plumbing such as rust spots), it is generally poorly suited for brewing as it is detectable in very small amounts in the finished beer as an unpleasant metallic or even blood-like flavor. Iron should be under 0.1 ppm in the water. If you have sulfide flavors and aromas in your raw water (rotten egg-like smell), it will not be suitable for brewing. If you have some sediment, a filter will often help. Just be sure to send the water after filtering for testing if that is what you plan to use.

The major mineral ions will we be working with are as follows:

Calcium: Calcium is the primary ion that determines hardness of the water. It helps with lowering the pH during mashing, facilitates precipitations of proteins in the boil (hot break), enhances yeast flocculation, and assists in preventing beerstone. Many lagers are made with very low levels of calcium, so it is not required but can be helpful in the amounts 50-100 ppm.

Magnesium: Also responsible for providing hardness to the water, magnesium can provide a sour/bitter flavor to the beer in amounts of 30 ppm or more. It has a laxative effect in much larger amounts. Malt provides all of the magnesium required for yeast health, so it is not required as an addition unless adding sulfate in the presence of a high calcium level (using epsom salts, or MgSO4).

Sulfate: Sulfate is the ion that is used to accentuate hop bitterness by enhancing the dryness of the finish. Additions are normally avoided in continental lagers or only used in small amounts, often 30 ppm or less. In most ales the ideal amount is 30-70 ppm. For highly hopped beers, the desired sulfate level may be much higher: 150-300 ppm for IPAs or west coast APAs. That amount will make the finish seem more crisp and dry. If using 150 ppm or higher, the chloride level should be under 50 ppm to avoid a “minerally” finish to the beer.

Chloride: Chloride accentuates a fullness or “roundness” of flavor in the beer, enhancing the malt sweetness. It is generally used in the 40-100 ppm range in many beers, but in the New England IPA style, the chloride is often over 100 ppm, up to 150 ppm.

Sodium: Sodium rounds out the malt flavors, and can be used in modest amounts (under 150 ppm). A higher concentration can make the beer taste salty, and having a high sodium combined with a high sulfate level can create a harsh bitterness. It is generally recognized that keeping the sodium at 0-60 is a safe bet. Using brewing water sourced from a water softener is to be avoided.

Bicarbonate: Bicarbonate plays a huge role in water chemistry for brewing. It raises the pH of the mash, so should be kept under 50 ppm for pale/light colored beers. An amber colored beer could use a bicarbonate amount of up to 150 ppm (depending on the grainbill). A very dark beer with roasted grains (like a stout) could easily go up to 200 ppm or even a bit more, as more bicarbonate is needed to balance the acidity of the dark roasted malts. As such, there is no ideal range for mashing water except that what is needed to achieve an appropriate mash pH. In sparge water, low bicarbonate water is desired to avoid tannin extraction from the grain. This will be discussed at length in our next article on water and mash pH.

Brewing Salts

The common brewing salts are gypsum, calcium chloride, epsom salts, chalk, sodium chloride, and baking soda. These are available at the homebrew supply store, or can sometimes be found at your grocery market.

Gypsum  (CaSO4 or calcium sulfate) is used in brewing to bring calcium and sulfate to the water. This can reduce the mash pH, in a small amount as can calcium chloride.

Calcium chloride (Pickle crisp or CaCl2) is used to add calcium as well as chloride, and epsom salt (MgSO4 or magnesium sulfate) is used for the magnesium and sulfate contribution. Plain old non-iodized table salt (NaCl2 or sodium chloride) brings sodium and chloride to the table.

Chalk: (CaC03 or calcium carbonate) has been traditionally used to raise mash pH in cases where it may be needed, but it doesn’t dissolve well without extraneous measures and is to be avoided in general.

In those rare cases where the mash pH should be raised, baking soda (NaHCO3 or sodium bicarbonate) is most useful.

Lactic acid or phosphoric acid are the most common acids used to lower the mash pH if needed.

A helpful comparison to brewing salts may be seasoning salts in cooking. Just as making chicken soup with a great recipe and fresh ingredients can be improved with a bit of salt or some bay leaf, a great beer base can be improved with a bit of tweaking of brewing salts. Too much salt in the chicken broth can ruin the soup, however; and too much of a brewing salt can ruin the beer. Using more conservative additions with the “less is more” idea is a great way to approach adding brewing salts to your homebrewing repertoire. You don’t want a “minerally” or harsh beer in the end after all your hard work!

There are brewing spreadsheets and books available to help you decide where to target your ideal concentrations of those ions, and Brewer’s Friend has both a basic and advanced water calculator to help you reach your goals.   We have given you give a range, and it is recommended to stay at the lower end of the range until you know what you like. You can always add more next time, but you can’t take it out. One pitfall that many brewers fall into as they delve into water chemistry is finding a water profile from a historic city, and set that up as a target. That can be problematic, as it may not be what the breweries themselves actually used, as they may have preboiled the water to drop the bicarbonate, or used water from another source. If a profile seems to have very high numbers, and you’d still like to make an authentic London porter, dig a bit deeper into what the breweries in that area did with the water before brewing with it. Brewing water with less than your ideal ion targets may seem a bit bland (think of the chicken soup seasoning analogy) but won’t be undrinkable as it would be if you add far too much of a good thing.

A good way to see what the brewing salts may do to your beer is to try it out. Pour a pint of your beer, and add a dash of table salt to it to see what chloride brings out. Next time, add some gypsum, to see what that brings to the beer.

If you are just starting in water additions, you can get by with gypsum, calcium chloride, baking soda, and lactic or phosphoric acid. We will discuss using those items as we discuss mash pH and delve deeper into water chemistry in the next article.


Want no ads? Go Premium and unlock all our brewing tools!