

Fermentation Temperature Controllers
Thursday, May 14th, 2020Article and Photos By Mike Dalecki
Most experienced brewers will tell you that their beer took a major leap forward when they began to do Fermentation Temperature Control (FTC). This article shows the range of methods to control fermentation temperature, from the simple and inexpensive to the complicated and pricey. At the end of the article, I’ll point out a way you might avoid worrying about temperature control altogether. Most of the discussion here presumes ale brewing, but lagers have similar issues–there are optimal temperatures at which they should be fermented, and your ability to control those temps will reward you.
Why Temperature Control is Important
Different yeasts have different ideal temperature ranges. Yeast fermenting too warm will express unintended flavors, many of which are undesirable. Estery/banana flavors, an alcoholic flavor–these are to be avoided in normal beers and you can do that by preventing the fermentation temperature from becoming too warm.
There are a couple of exceptions; farmhouse or Saison beers use yeast designed to ferment at higher temperatures in order to express certain flavors; if all you brew are these beers, FTC may not matter to you. Kveik yeasts (covered below) can handle extreme temps up to 95 degrees without creating off-flavors. But for the most part, most fermenting beers benefit from some sort of temperature control.
Further, temperature control works both ways. There are times you want to warm up the fermentation (a diacetyl rest, for instance), and times you want to chill the beer (crashing prior to packaging, e.g.). The more control you have, the more you can do–and the more consistent your beers will be batch to batch. If you cannot control fermentation temperature, you’ll find it difficult to reproduce beers you like. Here are ways brewers control fermentation temperature, starting at the least expensive.
Ambient Temperature Only
Many new brewers assume that ambient room temperature is fermenting wort temperature. However, yeast is exothermic, meaning the yeast produces heat while it works. Actual wort temperature during fermentation can be 5-10 degrees higher than ambient temperature; further, the higher the temp, the faster the yeast works, and the more heat generated. If the ambient temperature is low enough it may not matter much–and by low enough, I mean in the mid-to-low 60s. You won’t be able to control fermentation temp but it won’t run away on you.
Swamp Cooler
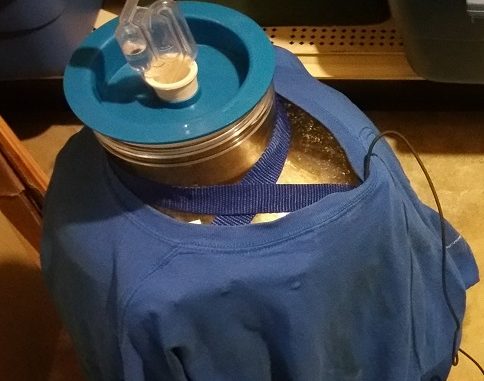
The redneck way to cool things without electricity is to use a Swamp Cooler; you place a piece of cloth over a vessel, wet it, and as the water evaporates it cools the vessel. Put the fermenter in a turkey pan ($1 at the Dollar Store) filled with a couple of inches of water, and drape a t-shirt or similar over the fermenter, allowing the shirt to dangle in the water. The shirt will wick up water that, when it evaporates, will cool the fermenter. I was able to produce about a 5-degree drop with my swamp cooler setup, but your mileage will vary with ambient temp, relative humidity, and size of the water pan. Some brewers live where ambient is just too high for evaporation to work on its own. They use frozen water bottles added to the pan in the morning and at night to help keep the temp down.
Refrigerator or Freezer Fermentation Chamber
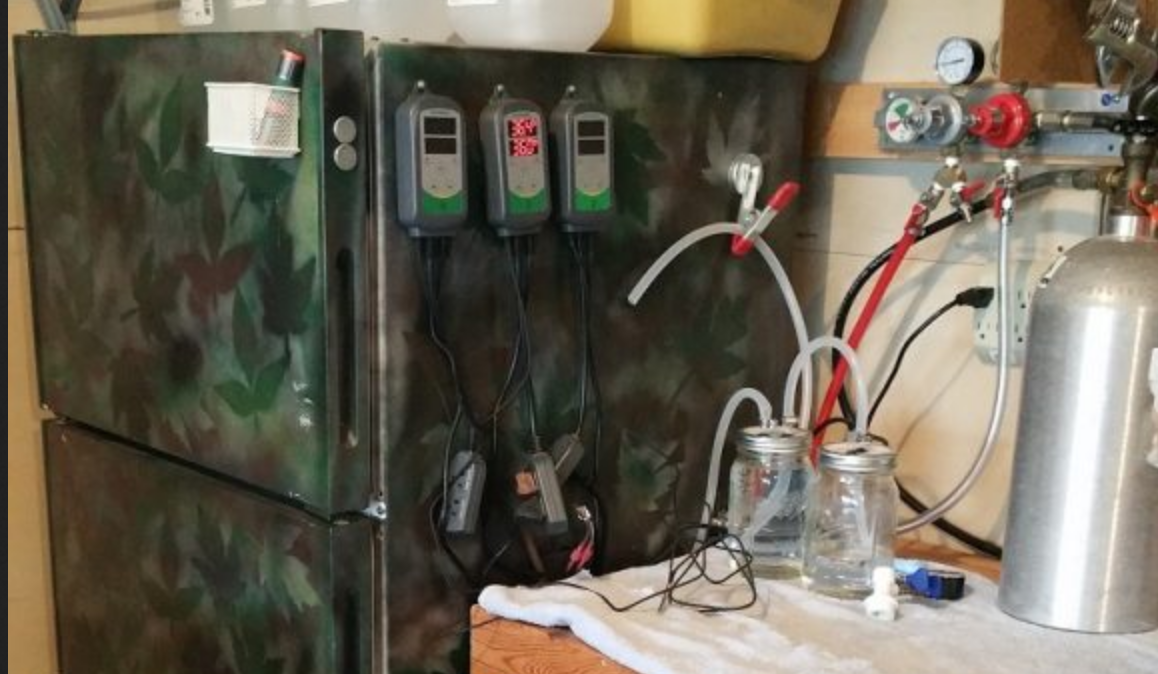
This is probably the most common approach besides doing nothing. Brewers will use either a refrigerator or freezer and an electronic control like an Inkbird 308 to manage fermentation temps. The refrigerator is turned to as cold as it will go, and when the temperature probe indicates the wort is
too warm, the controller turns on the refrigerator to cool it. If a heat source is also used, the controller will turn that on when wort temp is too cold.
The temperature probe can be held against the fermenter with a piece of insulation and a bungee cord or string; the insulation ensures the probe picks up the temperature of the wort, not ambient temperature. Some will use a thermowell, a hollow tube that extends from the bung into the wort, and into which the temperature probe is inserted. Typically the brewer will also use a heat belt or mat wrapped around the fermenter to allow warming the wort toward the end of fermentation for a diacetyl rest or even just to help the yeast clean up after itself. It’s also common in areas where ambient temperatures in the winter, such as my garage here in Wisconsin, can drop well below the desired fermentation temperature. There needs to be a way to warm the fermenter at times like these. In fact, if you have a pretty cold area to manage fermentation, you might not even need a refrigerated fermentation chamber–just a way to heat the wort up to the level that the yeast requires.
Probably the two most common ways of warming a fermenter like this are a FermWrap, or a seedling heat mat. Wrapped around the fermenter and held in place with string, wire, or a bungee cord, they apply warmth directly to the fermenter and thus, the wort. If ambient is fairly cold, some insulation like a towel may be wrapped around the fermenter. Some brewers use a light bulb inside a metal can, or a reptile heat bulb to add heat inside the fermentation chamber, but it’s a slower and less direct way to control heat.
It doesn’t matter much whether you use a refrigerator or freezer; it’s a personal preference. I prefer a refrigerator, as I don’t like lifting a fermenter into a freezer. You can get these cheaply used; Craigslist is a good source. I use both a large refrigerator that can handle two fermenters at a time, and a tall dorm-style refrigerator which is perfect for those whose space won’t allow a larger unit.
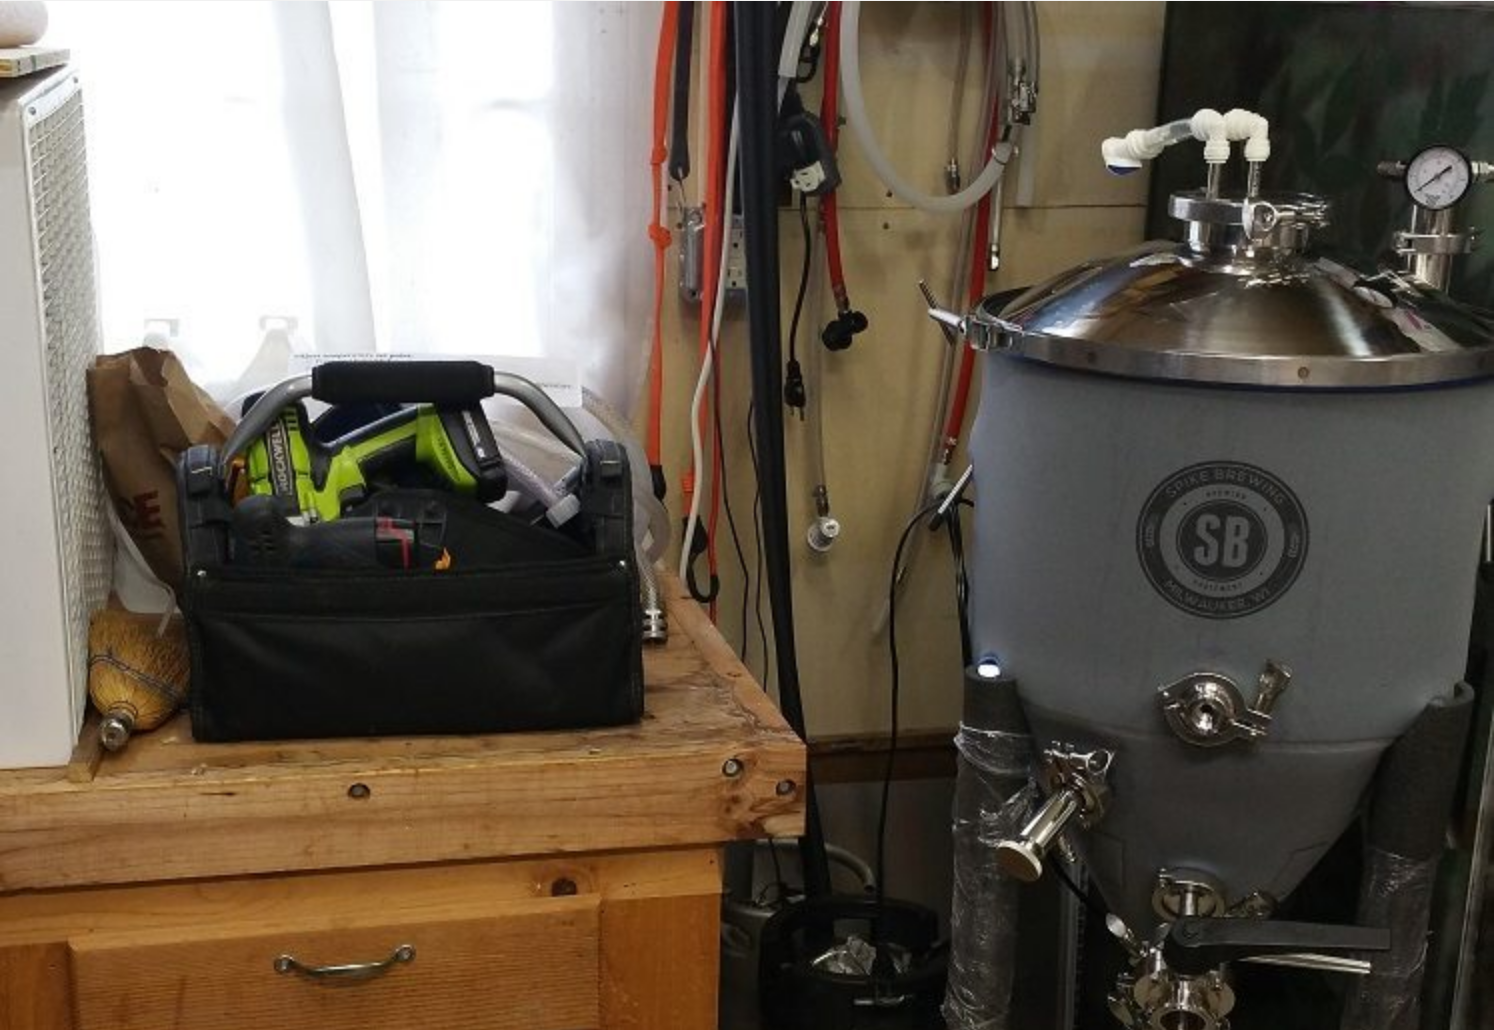
Glycol Chilling Units
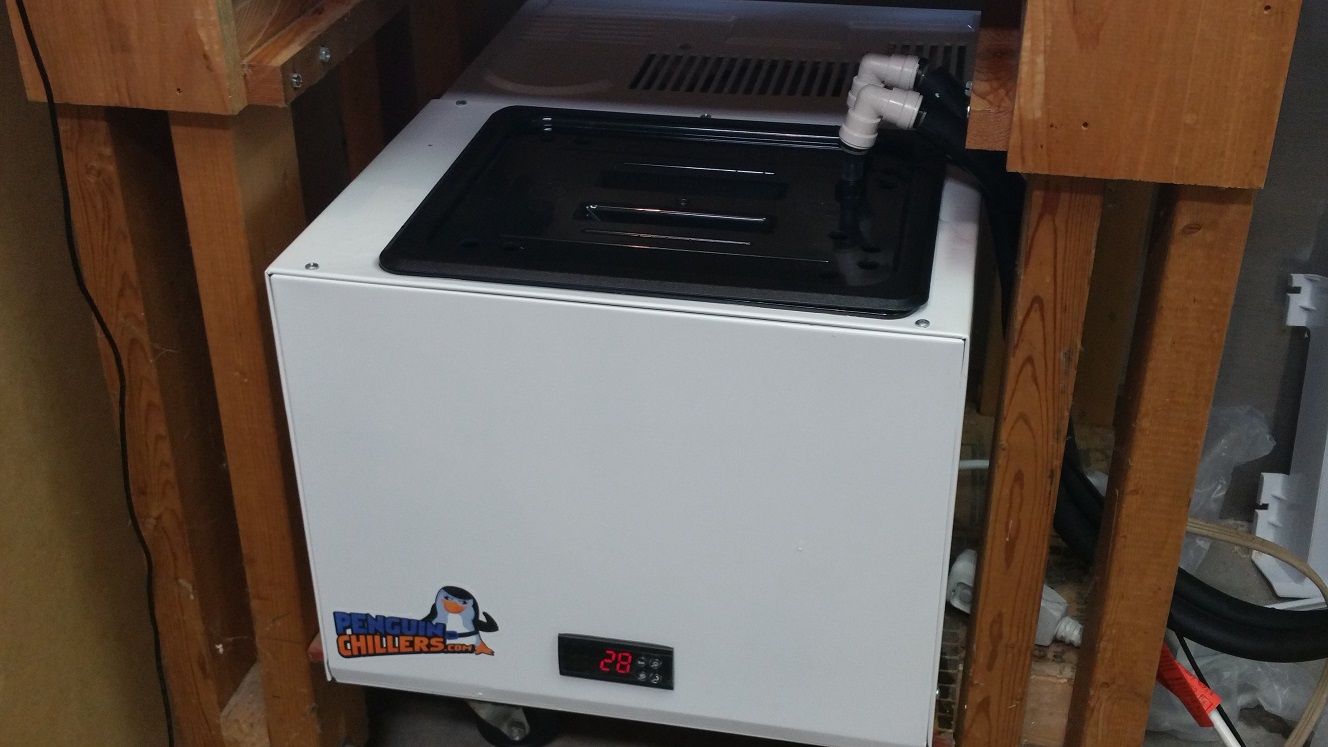
Glycol, which mixed with water reduces the temperature at which it freezes, is used to chill coils suspended into a fermenter. Commercial units range in price from about $700 to $1000. The advantage of glycol is speed and control, as the chilling is applied directly within the wort through stainless coils inside the fermenter. The better glycol chillers can handle up to four fermenters at a time; each fermenter simply needs its own pump to control flow. Some have had success with a DIY glycol chiller. I created a Glycol reservoir inside the freezer compartment of my large fermentation chamber; it was quite effective in controlling fermentation temp, though less effective in crashing.
Others have repurposed air conditioners to glycol chilling, and still, others have used small dorm-style refrigerators for this purpose. If you’re interested in researching this, search “DIY glycol” on Homebrewtalk and you’ll find a number of threads dealing with this, including my own.
Kveik Yeast
This last isn’t fermentation temp control but rather a way to ignore it. Kveik yeast is an ancient yeast that developed in northern European countries. It is fairly immune to high-temperature fermentation, meaning it can handle fermentations up to 95 degrees without producing typical
off-flavors. While Kveik doesn’t offer the variety of strains that dry or other liquid yeasts present, it is an option for those who for whatever reasons simply cannot keep ferm temps down. When using Kveik yeast, high temperatures aren’t a bug, they’re a feature.


Sorry, comments for this entry are closed at this time.