Brewing Water Basics – Part 1
Sunday, November 19th, 2017
For many brewers, water chemistry is treated as the last frontier of homebrewing. Oftentimes, it is ignored or at least not something homebrewers want to think about. The old adage “if your water tastes good, it’s fine to brew with” may be repeated, and believed. The brewer may work on refining recipes and take great pains to provide fermentation temperature control, but ignore the water used in brewing.
This is a mistake because the largest component of beer is the water. Managing the pH of the mash and the flavor contributions of the water can take a good beer to a great beer. While it’s true that poor tasting water will make poor tasting beer, the inverse is not always true. Great tasting water out of the tap may not be well suited to brewing. Additions to the water by the water supply company such as chlorine, or the more stable form called chloramine, keep your water supply safe for drinking but chlorine can negatively impact the flavor of the beer. In some areas, the water out of the tap may be high in bicarbonate or iron which can also negatively impact your beer. If you wish to not delve into water chemistry at all, it is advisable to use reverse osmosis water from the water dispensers at grocery stores or distilled water as it would be a blank canvas to start with. Even so, better beer can be made with paying attention to a few water additions and mash pH that will be discussed in this article series.
Where to Start With Brewing Water
Getting a water report from your water company, if using municipal water, is a great place to start. They should have all of the information available, but you may not get all of the information you need from them at first. They are required to test the water for safety, and will report contaminants and pesticides, but will not always give you the components that brewers are looking for in a water report. You can ask brewers around you about the water, but often the easiest way to get a report on what you need is by ordering a household minerals test from a testing company. If you have a well, this is likely the only way to get a report. One of the dangers will dabbling with brewing water is to add items per a recipe without knowing what you are starting with, so the report is crucial before beginning. A popular company is Ward Labs, but there are others out there. A basic test should run under $35 for what you need. You will require sodium, calcium, magnesium, sulfate, chloride, bicarbonate, and total alkalinity.
It’s also important to find out if your water company uses chlorine or chloramines for disinfection of the water. In order to use any water for brewing, this is a steadfast rule: the water must be chlorine free. Chlorine will off-gas and/or boil off, but chloramine is a more stable form of chlorine and will not easily boil off. It can be removed via campden tablets (potassium metabisulfite) easily. One tablet crushed and dissolved into 20 gallons of water and stirred well will remove chloramine (and chlorine) in most cases. Removing the chlorine, or purchasing reverse osmosis or distilled water should be the first step in dealing with water.
Understanding Minerals

The results from your water test will give you the ion concentrations in parts per million (ppm) or mg/l. These minerals are important for brewing water, because they can affect the suitability for use in brewing and have a flavor impact.
If you have iron in your water (look for discoloration in plumbing such as rust spots), it is generally poorly suited for brewing as it is detectable in very small amounts in the finished beer as an unpleasant metallic or even blood-like flavor. Iron should be under 0.1 ppm in the water. If you have sulfide flavors and aromas in your raw water (rotten egg-like smell), it will not be suitable for brewing. If you have some sediment, a filter will often help. Just be sure to send the water after filtering for testing if that is what you plan to use.
The major mineral ions will we be working with are as follows:
Calcium: Calcium is the primary ion that determines hardness of the water. It helps with lowering the pH during mashing, facilitates precipitations of proteins in the boil (hot break), enhances yeast flocculation, and assists in preventing beerstone. Many lagers are made with very low levels of calcium, so it is not required but can be helpful in the amounts 50-100 ppm.
Magnesium: Also responsible for providing hardness to the water, magnesium can provide a sour/bitter flavor to the beer in amounts of 30 ppm or more. It has a laxative effect in much larger amounts. Malt provides all of the magnesium required for yeast health, so it is not required as an addition unless adding sulfate in the presence of a high calcium level (using epsom salts, or MgSO4).
Sulfate: Sulfate is the ion that is used to accentuate hop bitterness by enhancing the dryness of the finish. Additions are normally avoided in continental lagers or only used in small amounts, often 30 ppm or less. In most ales the ideal amount is 30-70 ppm. For highly hopped beers, the desired sulfate level may be much higher: 150-300 ppm for IPAs or west coast APAs. That amount will make the finish seem more crisp and dry. If using 150 ppm or higher, the chloride level should be under 50 ppm to avoid a “minerally” finish to the beer.
Chloride: Chloride accentuates a fullness or “roundness” of flavor in the beer, enhancing the malt sweetness. It is generally used in the 40-100 ppm range in many beers, but in the New England IPA style, the chloride is often over 100 ppm, up to 150 ppm.
Sodium: Sodium rounds out the malt flavors, and can be used in modest amounts (under 150 ppm). A higher concentration can make the beer taste salty, and having a high sodium combined with a high sulfate level can create a harsh bitterness. It is generally recognized that keeping the sodium at 0-60 is a safe bet. Using brewing water sourced from a water softener is to be avoided.
Bicarbonate: Bicarbonate plays a huge role in water chemistry for brewing. It raises the pH of the mash, so should be kept under 50 ppm for pale/light colored beers. An amber colored beer could use a bicarbonate amount of up to 150 ppm (depending on the grainbill). A very dark beer with roasted grains (like a stout) could easily go up to 200 ppm or even a bit more, as more bicarbonate is needed to balance the acidity of the dark roasted malts. As such, there is no ideal range for mashing water except that what is needed to achieve an appropriate mash pH. In sparge water, low bicarbonate water is desired to avoid tannin extraction from the grain. This will be discussed at length in our next article on water and mash pH.
Brewing Salts
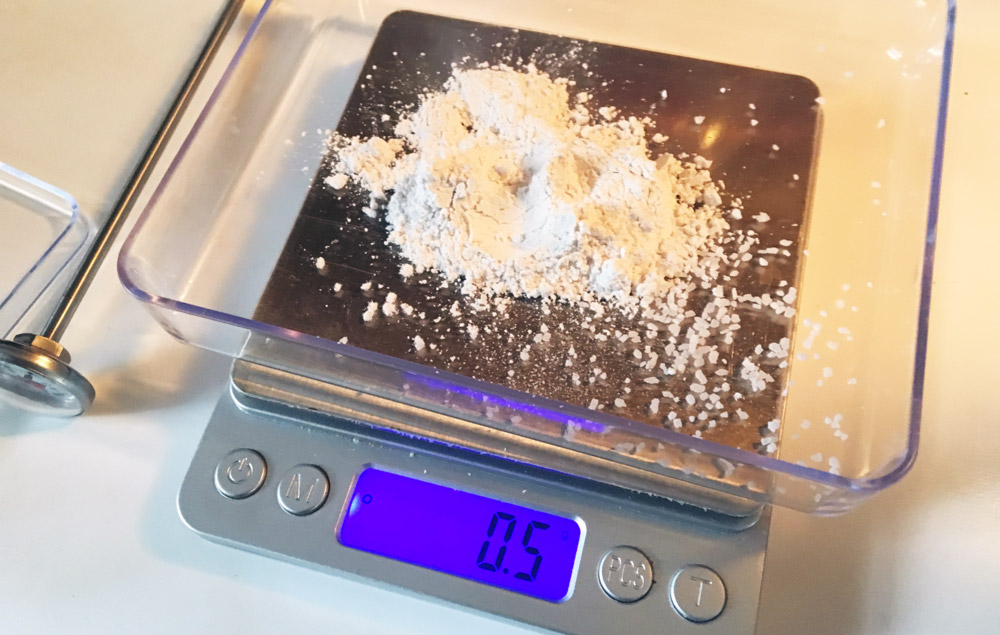
The common brewing salts are gypsum, calcium chloride, epsom salts, chalk, sodium chloride, and baking soda. These are available at the homebrew supply store, or can sometimes be found at your grocery market.
Gypsum (CaSO4 or calcium sulfate) is used in brewing to bring calcium and sulfate to the water. This can reduce the mash pH, in a small amount as can calcium chloride.
Calcium chloride (Pickle crisp or CaCl2) is used to add calcium as well as chloride, and epsom salt (MgSO4 or magnesium sulfate) is used for the magnesium and sulfate contribution. Plain old non-iodized table salt (NaCl2 or sodium chloride) brings sodium and chloride to the table.
Chalk: (CaC03 or calcium carbonate) has been traditionally used to raise mash pH in cases where it may be needed, but it doesn’t dissolve well without extraneous measures and is to be avoided in general.
In those rare cases where the mash pH should be raised, baking soda (NaHCO3 or sodium bicarbonate) is most useful.
Lactic acid or phosphoric acid are the most common acids used to lower the mash pH if needed.
A helpful comparison to brewing salts may be seasoning salts in cooking. Just as making chicken soup with a great recipe and fresh ingredients can be improved with a bit of salt or some bay leaf, a great beer base can be improved with a bit of tweaking of brewing salts. Too much salt in the chicken broth can ruin the soup, however; and too much of a brewing salt can ruin the beer. Using more conservative additions with the “less is more” idea is a great way to approach adding brewing salts to your homebrewing repertoire. You don’t want a “minerally” or harsh beer in the end after all your hard work!
There are brewing spreadsheets and books available to help you decide where to target your ideal concentrations of those ions, and Brewer’s Friend has both a basic and advanced water calculator to help you reach your goals. We have given you give a range, and it is recommended to stay at the lower end of the range until you know what you like. You can always add more next time, but you can’t take it out. One pitfall that many brewers fall into as they delve into water chemistry is finding a water profile from a historic city, and set that up as a target. That can be problematic, as it may not be what the breweries themselves actually used, as they may have preboiled the water to drop the bicarbonate, or used water from another source. If a profile seems to have very high numbers, and you’d still like to make an authentic London porter, dig a bit deeper into what the breweries in that area did with the water before brewing with it. Brewing water with less than your ideal ion targets may seem a bit bland (think of the chicken soup seasoning analogy) but won’t be undrinkable as it would be if you add far too much of a good thing.
A good way to see what the brewing salts may do to your beer is to try it out. Pour a pint of your beer, and add a dash of table salt to it to see what chloride brings out. Next time, add some gypsum, to see what that brings to the beer.
If you are just starting in water additions, you can get by with gypsum, calcium chloride, baking soda, and lactic or phosphoric acid. We will discuss using those items as we discuss mash pH and delve deeper into water chemistry in the next article.


Sorry, comments for this entry are closed at this time.